6 Adobe Premiere Pro plugins & extensions for creative teams

Considering the drastic shift in the market, creators now expected to produce more content, at higher quality, and for multiple platforms—often with the same resources and timeframes as before. Video editing is already a time consuming and meticulous process that requires extreme attention and lots of back and forth work, and keeping up with these editing trends only makes the job tougher.
So if you're also struggling with something similar— keep up with this blog!
We have compiled a list of top 7 Adobe Premiere Pro plugins and extensions used by leading industry experts. You should read this blog if you are looking for smart solutions and tools that not only enhances your workflow but also automates redundant tasks, without compromising on quality.
Let's dig in!
Getting plugin-ready: Here's what you need to know.
Before we start with the plugins an extensions, let's ensure your system and software are properly configured. This preparation will make the installation process smoother and prevent potential compatibility issues down the line.
1. First, you'll need an up-to-date version of Adobe Premiere Pro, ideally the latest release or at least a version from the past year. While some plugins work with older versions, many leverage features only available in recent updates. Your Adobe Creative Cloud subscription should be active, as this provides access to Adobe's Exchange marketplace where many plugins are distributed.
2. Most plugins require administrator privileges on your computer for installation, which is particularly important in managed IT environments. Make sure you have sufficient storage space, especially for plugins that include asset libraries or template collections. A stable internet connection is essential for downloading and activating plugins, with some requiring ongoing connectivity for cloud-based features.
3. Finally, familiarize yourself with Premiere Pro's plugin management by navigating to Window > Extensions, as this is where you'll access most of your installed plugins. With these basics covered, you're ready to enhance your editing toolkit.
List of 6 Adobe Premiere Pro plugins and extensions
1. AE Juice

AE Juice allows After Effects animations directly into Premiere Pro, providing editors with an extensive library of motion graphics templates, transitions, and text animations without requiring them to switch between applications. This plugin is a holy grail for editors who need to create professional-level animated elements but don't have the time or expertise to build them from scratch in After Effects.
The plugin features a well-organized library of pre-designed animations that can be easily customized to match your project's aesthetic. What makes AE Juice particularly valuable is how it bridges the gap between editing and motion graphics—you can apply complex animations with just a few clicks, then fine-tune parameters like colors, timing, and text directly within Premiere Pro. For editors working on tight deadlines, this integration can dramatically accelerate the production of polished content.
Key features:
- Extensive template library - Hundreds of professionally designed motion graphics
- One-click application - Drag and drop animations directly to your timeline
- Customization controls - Adjust colors, timing, and text without leaving Premiere
- Regular updates - New templates added frequently to expand creative options
- Category organization - Easily find transitions, titles, lower thirds, and more
Getting started with AE Juice:
- Visit aejuice.com and sign up for an account (free tier available)
- Download the AE Juice plugin installer for Premiere Pro
- Close Premiere Pro if it's currently running
- Run the installer and follow the on-screen instructions
- Open Premiere Pro and go to Window > Extensions > AE Juice
- The panel will open, giving you access to the template library
- Browse categories or use the search function to find suitable animationz
Time-saving impact: Eliminates the need to create basic animations in After Effects, potentially saving 1-2 hours per project while elevating production value.
2. Motion Bro Install

Motion Bro Install serves as the gateway to one of the most comprehensive animation systems available for Premiere Pro. This installation manager plugin makes it remarkably easy to integrate a wide range of motion graphics templates, transitions, and effects into your editing workflow. Rather than dealing with complex installation procedures for different animation packs, Motion Bro Install provides a unified framework that streamlines the entire process.
What makes this plugin particularly valuable is its ability to organize and manage multiple animation packages in one place. The clean, intuitive interface allows you to see which templates you already have installed, check for updates, and browse new additions. For editors who work with a variety of animation styles, this centralized management system prevents the confusion that typically comes with juggling multiple plugins and template folders.
Key features:
- Centralized management - Organize all your animation packs in one place
- One-click installation - Install complex template packages with minimal effort
- Version control - Easily update templates to their latest versions
- Compatibility checking - Verifies templates will work with your Premiere version
- Selective activation - Activate only the template packages you need for each project
Setting up Motion Bro Install:
- Visit motion-bro.com and download the free Motion Bro Install plugin
- Close Premiere Pro before running the installer
- Follow the step-by-step installation instructions
- Launch Premiere Pro and navigate to Window > Extensions > Motion Bro
- The plugin will open, showing available and installed animation packs
- Use the interface to install your preferred animation packages
- Restart Premiere Pro to ensure all components are properly loaded
Time-saving impact: Reduces animation template management from a multi-hour technical hassle to a streamlined 5-minute process, especially valuable for editors who use multiple template packages.
3. Sound Q
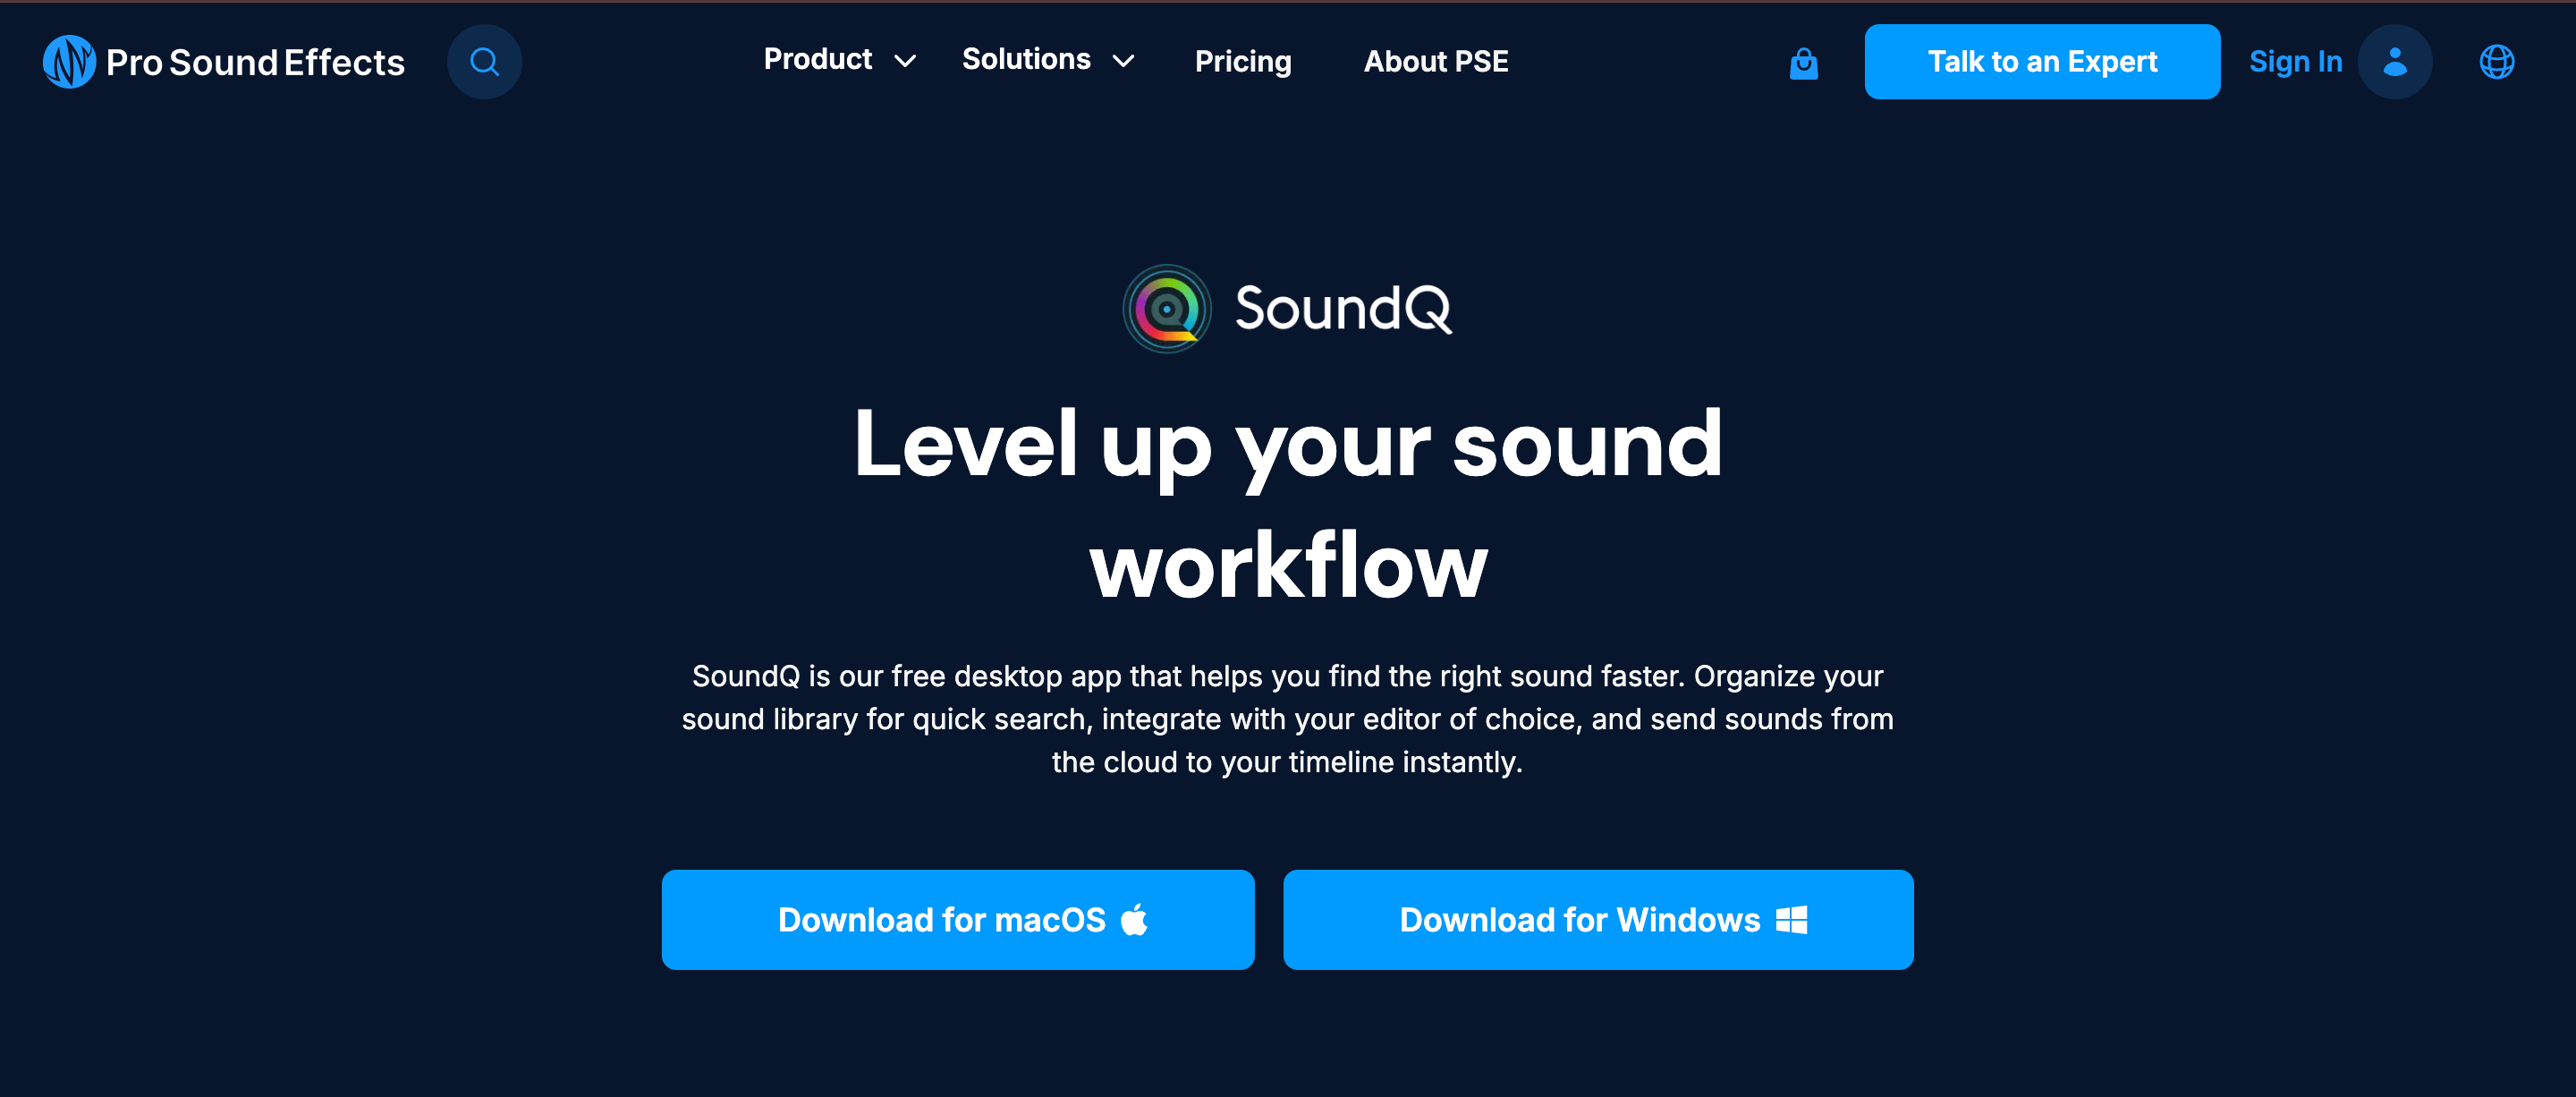
Sound Q transforms the audio workflow in Premiere Pro by introducing a revolutionary approach to sound effect management, organization, and application. This powerful plugin allows editors to create a personalized library of audio assets that can be instantly searched, previewed, and applied directly to the timeline—all without interrupting the creative editing flow.
What makes Sound Q particularly valuable is its ability to consolidate audio from multiple sources into a single, searchable interface. You can import sound effects from your personal collection, commercially available libraries, or online resources, then tag them with custom keywords that match your working vocabulary. The intelligent search function understands context and relationships between sounds, so searching for "explosion" might also suggest whooshes or debris sounds that commonly accompany explosions in professional soundtracks.
The plugin features a clean, editor-friendly interface with waveform visualization, quick auditioning, and one-click application to the timeline. Most editors can master the basic functionality within minutes, while the more advanced features like custom collections and batch processing become intuitive with regular use. For video creators working on tight deadlines, Sound Q can dramatically reduce the time spent searching for and implementing sound effects.
Key features:
- Unified audio library - Consolidate all your sound effects in one searchable interface
- Smart tagging system - Create custom keywords that match your workflow vocabulary
- Waveform preview - Visually identify sound characteristics before auditioning
- One-click application - Add sounds directly to your timeline with precise placement
- Custom collections - Organize sounds into project-specific folders for quick access
Integrating Sound Q into your audio workflow:
- Visit soundq.com and download the plugin installer
- Close Premiere Pro before running the installer
- Follow the installation wizard to complete setup
- Open Premiere Pro and go to Window > Extensions > Sound Q
- The panel will open, ready for you to import and organize your audio files
- Use the "Add Folder" function to import your existing sound libraries
- Begin tagging sounds with descriptive keywords for easier searching
Time-saving impact: Reduces sound design time by up to 60%, turning a 2-hour audio enhancement session into a 45-minute creative process.
4. Essential Motion 2.0

Essential Motion 2.0 brings a revolutionary approach to creating dynamic movement and animation within Premiere Pro. This powerful plugin provides a comprehensive set of motion design tools that were previously only available in dedicated motion graphics software. From smooth camera movements to complex text animations, Essential Motion 2.0 allows editors to create professional-quality motion effects without leaving their editing environment.
What sets Essential Motion 2.0 apart is its intuitive keyframe-based animation system that simplifies complex motion design concepts. Rather than dealing with bezier curves and velocity graphs, the plugin provides visual controls that make it easy to create natural-looking movements. The animation presets library includes professionally designed motion patterns for common scenarios like camera pans, zooms, rotations, and parallax effects, each of which can be customized to suit your specific content.
The interface strikes an excellent balance between power and accessibility, with clearly labeled controls organized into logical categories. Editors with no previous animation experience can immediately apply presets and make basic adjustments, while those willing to explore the more advanced features can create custom animations that would typically require After Effects. This scalability makes Essential Motion 2.0 valuable for everyone from social media content creators to professional filmmakers.
Key features:
- Comprehensive animation toolkit - Create camera movements, text animations, and motion effects
- Visual animation editor - Manipulate motion paths directly on your Program Monitor
- Preset library - Apply professional motion designs with a single click
- Easing controls - Create natural acceleration and deceleration without complex curves
- Layered animations - Combine multiple motion effects for sophisticated results
Adding Essential Motion 2.0 to your toolkit:
- Visit the plugin developer's website (essentialmotion.com)
- Create an account and download the installer for Premiere Pro
- Close Premiere Pro before running the installation package
- Follow the setup instructions to complete installation
- Open Premiere Pro and locate Essential Motion 2.0 in the Effects panel
- Apply the effect to a clip, nested sequence, or adjustment layer
- Use the dedicated control panel to customize your animations
Time-saving impact: Reduces motion design work from hours in After Effects to minutes in Premiere Pro, while maintaining professional quality.
5. Premiere Composer

Premiere Composer revolutionizes text animation and motion graphics within Premiere Pro. While Adobe After Effects has long been the go-to tool for creating dynamic text animations, Premiere Composer brings these capabilities directly into your editing workspace, eliminating the need to switch between applications for most text animation needs.
The plugin comes with an extensive library of pre-designed text animation templates covering everything from simple lower thirds to complex title sequences and call-outs. What makes Premiere Composer particularly valuable is that all templates are fully customizable—you can adjust colors, timing, fonts, and animation parameters to match your project's aesthetic without needing to understand the underlying animation principles. For branding-conscious creators, you can save custom presets with your brand's colors, fonts, and animation styles for consistent application across all your projects.
The user interface is thoughtfully designed with editors in mind, featuring a preview window that displays animations in real-time and an intuitive layering system that makes it easy to combine multiple animation elements. For editors who regularly need to create professional-looking titles, credits, and animated graphics, this plugin can dramatically reduce the time spent on these elements while improving their visual impact.
Key features:
- Extensive template library - Hundreds of pre-designed text animations and motion graphics
- Customization tools - Intuitive controls for colors, timing, fonts, and animation properties
- Layer system - Combine multiple elements to create complex compositions
- Brand presets - Save your brand colors, fonts, and styles for consistent application
- Export options - Apply animations directly to your timeline or save as motion graphics templates
Setting up Premiere Composer in your workflow:
- Visit premierecomposer.com and create a free account
- Download the plugin installer for your operating system
- Close Premiere Pro if it's currently running
- Run the installer and follow the on-screen instructions
- Open Premiere Pro and go to Window > Extensions > Premiere Composer
- Log in with your account credentials to access the template library
- Browse categories or use the search function to find suitable templates
Time-saving impact: Eliminates the need to switch to After Effects for text animations, potentially saving 2-3 hours per project.
6. Version Raptor
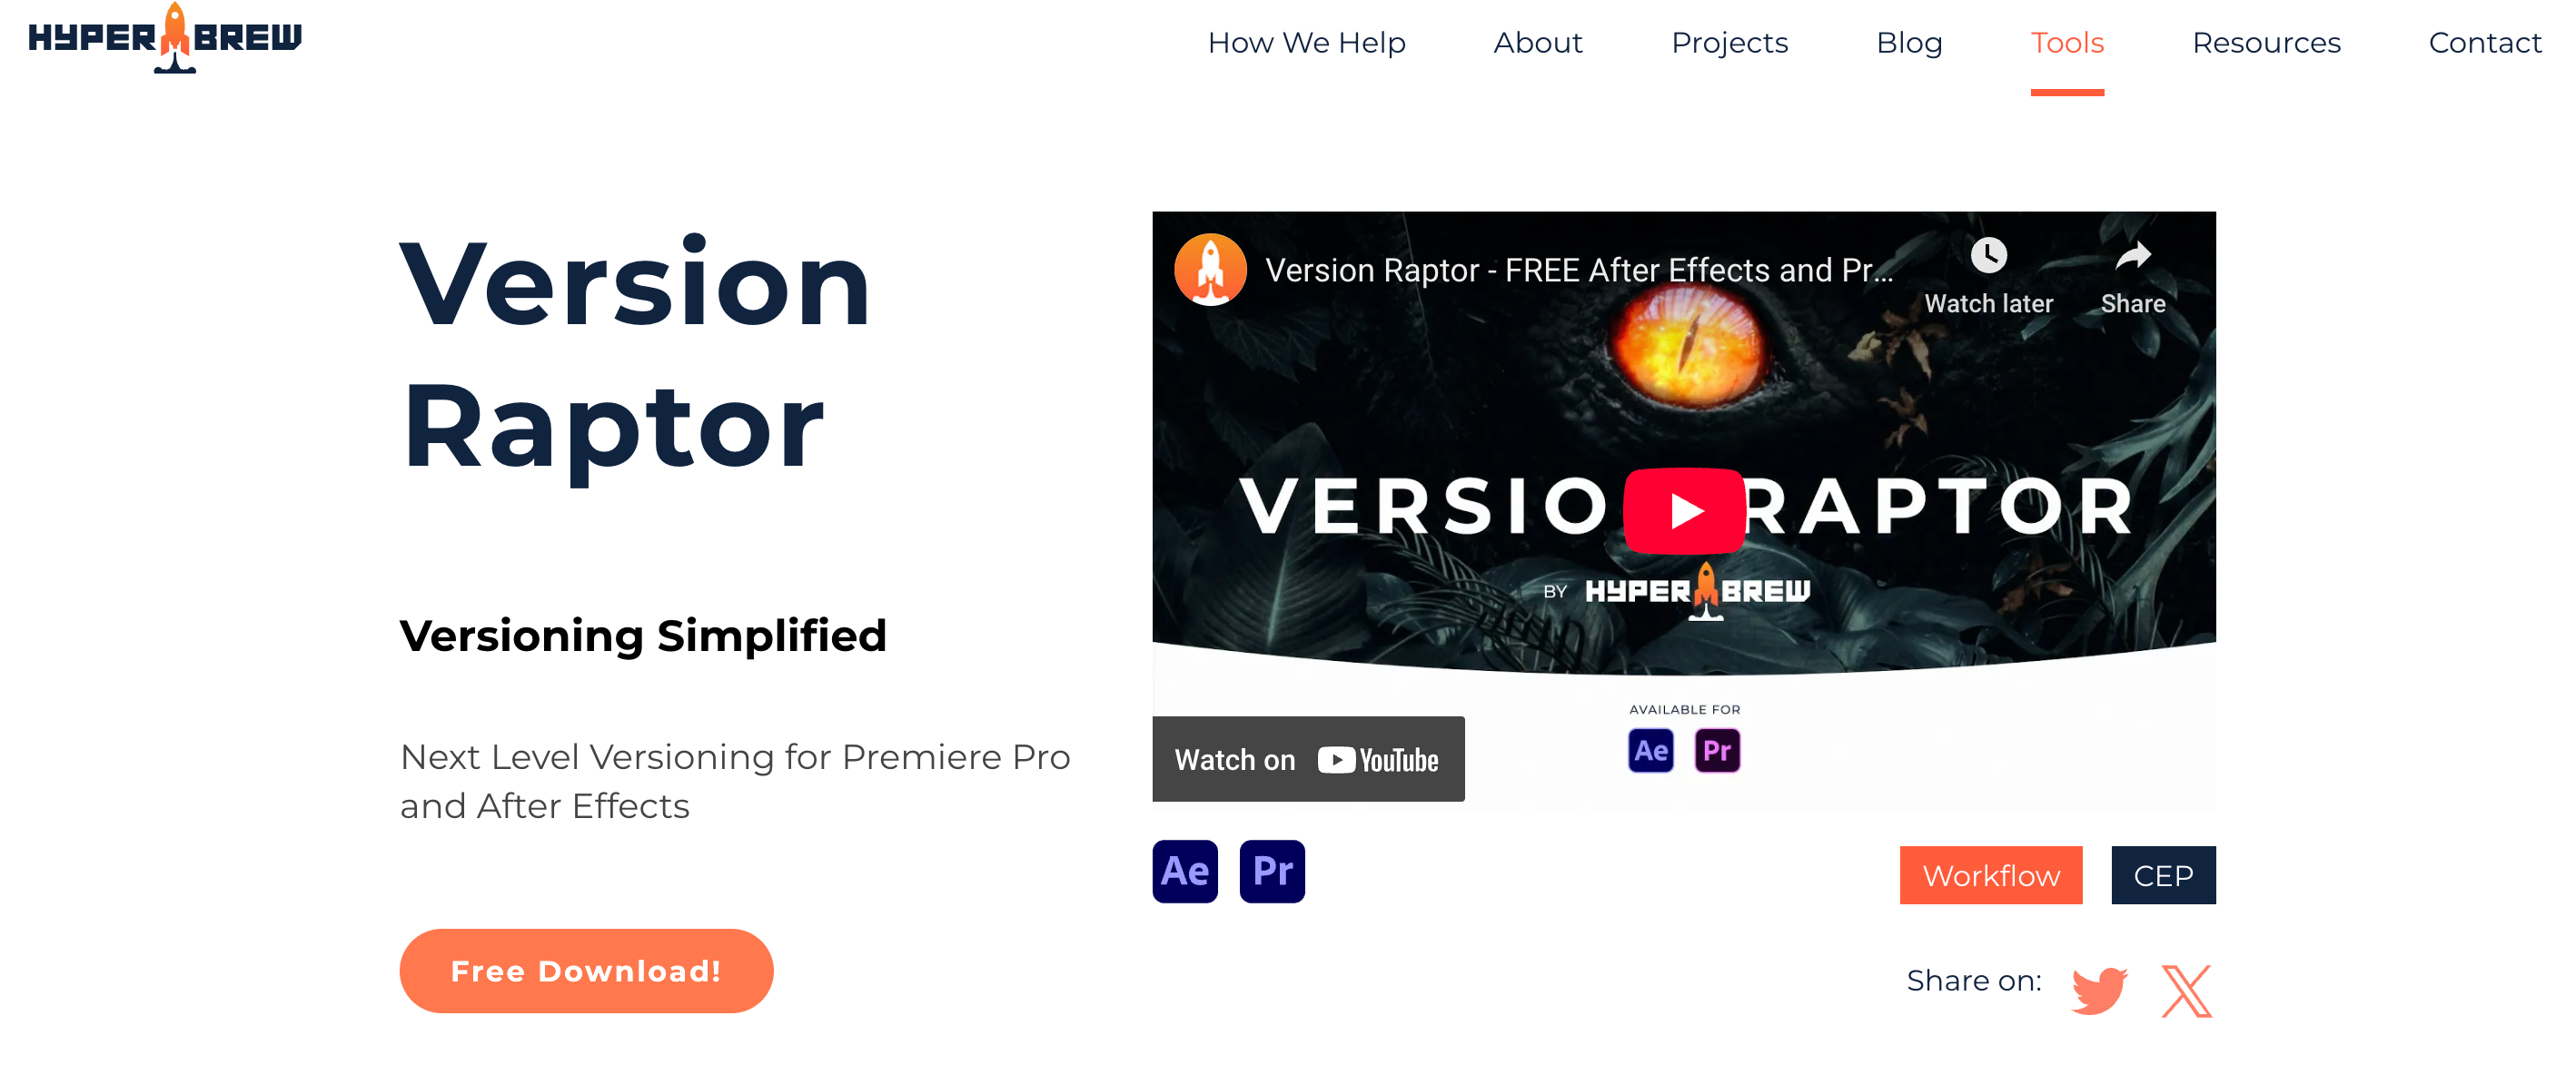
Version Raptor solves one of the most persistent challenges in professional video editing: managing multiple versions of a project while maintaining a clear record of changes and approvals. This powerful version control plugin brings software development-inspired workflow tools to creative video editing, allowing editors to track revisions, compare different edit versions, and easily revert to previous states when needed.
What makes Version Raptor particularly valuable is its ability to create intelligent snapshots of your project at key stages in the editing process. Rather than duplicating entire project files (which quickly become unwieldy and confusing), the plugin stores only the changes between versions, creating an efficient version history that doesn't bloat your storage. When clients or team members request changes to previous versions or want to combine elements from different edit iterations, Version Raptor makes these typically complex tasks remarkably straightforward.
The plugin features a clean, timeline-based interface that visualizes your project's evolution. Each version is clearly labeled and timestamped, with optional annotations to record the purpose of specific changes or client feedback addressed. For collaborative environments where multiple editors might work on the same project, Version Raptor's branching capabilities allow team members to explore different creative directions without overwriting each other's work.
Key features:
- Intelligent version control - Track project evolution without duplicating files
- Visual version timeline - See your editing history in a clear, chronological display
- Change comparison - Visually compare any two versions to see what changed
- Selective rollback - Revert specific elements to previous states without affecting others
- Collaboration tools - Support for multiple editors working on different versions
Integrating Version Raptor into your workflow:
- Visit versionraptor.com to download the plugin
- Close Premiere Pro before running the installer
- Follow the installation instructions to complete setup
- Launch Premiere Pro and go to Window > Extensions > Version Raptor
- The plugin panel will open, showing options to initialize version tracking
- Click "Create Initial Version" to establish your baseline project state
- As you edit, create new versions at logical milestone points in your process
Time-saving impact: Reduces version management overhead by up to 75% while virtually eliminating the risk of lost work or confusion about which version is current.
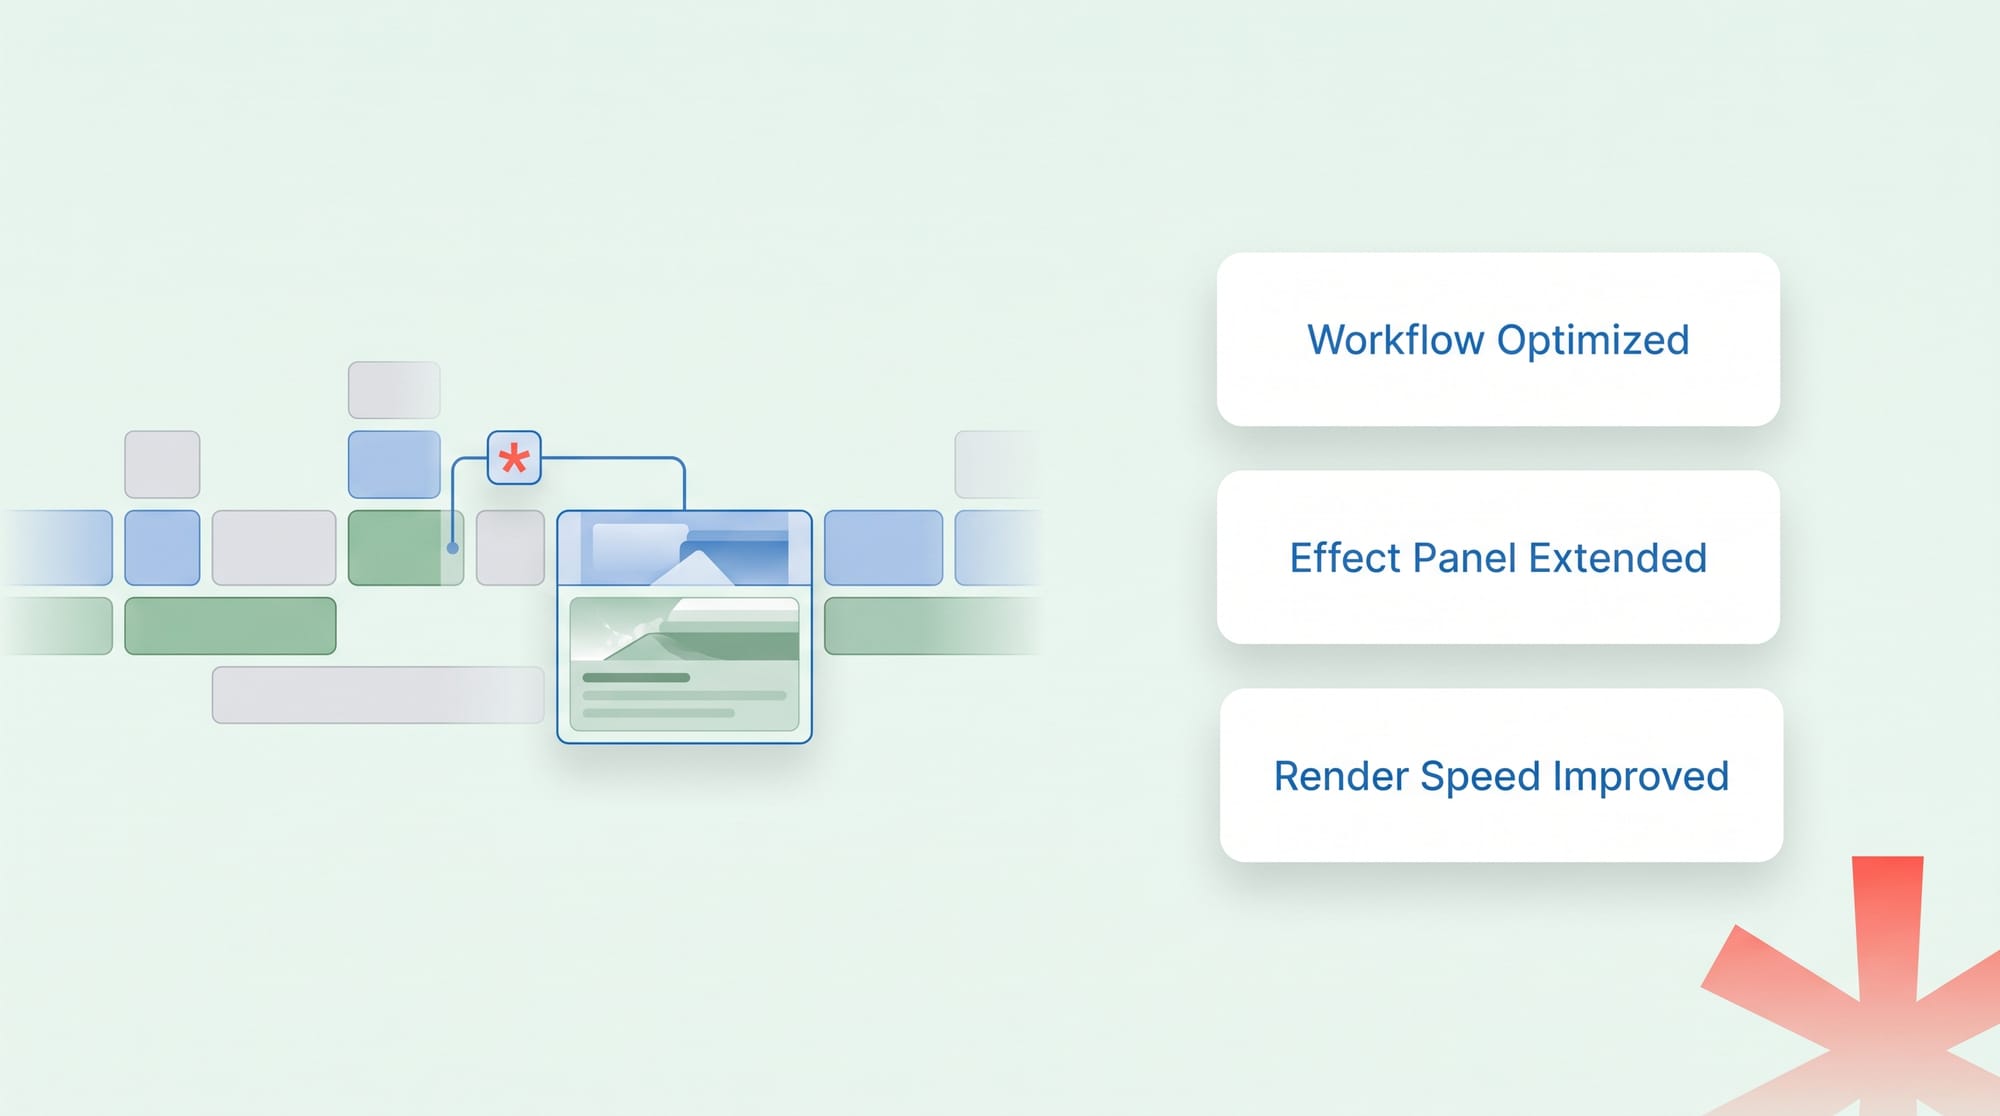
How to optimize your plugin workflow?
To maximize the benefits of these plugins, consider implementing a strategic workflow that integrates them at specific points in your editing process:
- Start with organization - Before diving into creative editing, use BatchFrame to apply consistent settings to similar footage types (like interview clips or b-roll) across your project. This creates a solid foundation for your edit.
- Handle audio early - Use the Essential Sound Panel and Auto Ducking during your rough cut to quickly establish a clean audio mix. Having professional-sounding audio from the beginning helps with pacing decisions and client approvals.
- Add graphics during assembly - Incorporate Premiere Composer templates during your assembly edit rather than waiting until the fine cut. This gives you a better sense of timing and pacing with all elements in place.
- Save reformatting for last - After your main edit is approved, use Auto Reframe to create versions for different platforms. This prevents you from having to incorporate editorial changes across multiple aspect ratios.
- Build a template library - Dedicate time to organizing Motion Array assets and BatchFrame presets that match your typical projects. This investment pays dividends in efficiency for all future edits.
Integrate GoVisually with Adobe Premiere Pro to reduce feedback loops by 60%
Did you know you could cut down your feedback and review process by 60% by simply integrating your Adobe suite with GoVisually? GoVisually is a powerful and an industry leading online proofing tool that allows you to create an automated feedback management system for all your visuals and graphics. And all you need to do is just integrate your Adobe suite with GoVisually!
Through this integration you can
- create an automated feedback approval system
- get contextual feedback directly on the design
- generate secure design review link with your clients
- manage version control for multiple versions
- Track approvals through different stages of the approval cycle and more!
Want to get rid of your traditional back and forth email chaos and create a approval system that flows feedback seamlessly? Book a call with our experts and they'll guide through each step throughout the process!