Adobe Photoshop plugins & extensions to boost productivity


Ever find yourself spending hours on repetitive Photoshop tasks that should take minutes? Or hitting creative roadblocks because the native tools just don't quite do what you need? You're not alone.
Most designers struggle with the same frustrations: tedious manual adjustments, constant switching between applications to find resources, and the nagging feeling that there must be a faster way to achieve professional results.
The truth is, Photoshop alone isn't enough for today's demanding design environment. While it remains the industry standard, its native capabilities often fall short when it comes to specialized tasks or workflow efficiency. That's where the right plugins come in – they're the secret weapons that professional designers use to work smarter, not harder.
In this guide, we'll explore nine exceptional Photoshop plugins that directly address the most common pain points designers face daily. From managing reference images to recovering corrupted files, these tools fill the gaps in Photoshop's functionality and can literally save you hours every week. Whether you're a seasoned professional or just starting out, these plugins will help you deliver better work in less time – without the usual headaches.
Essential toolkit: What every Photoshop user should know?
Before diving into specific plugins, it's important to understand how to properly set up and maintain your extended Photoshop environment. Taking a few minutes to prepare your system will ensure smooth installation and optimal performance of your plugin collection.
1. First, make sure your version of Photoshop is up to date. Plugins are designed for specific software versions, and compatibility issues often arise when using outdated software. Your Adobe Creative Cloud subscription should be active, as this provides access to Adobe's Exchange marketplace where many plugins are distributed.
2. Be mindful of your system resources. Running Photoshop alongside multiple resource-intensive plugins can strain your computer's memory and processing power. Consider closing unnecessary applications while working on complex projects, and periodically restart Photoshop to clear cached data that might affect performance.
3. For organization, create a dedicated folder for plugin installers and documentation. This makes it easier to troubleshoot issues or reinstall plugins after system changes. Many plugins save custom presets and settings in specific locations—knowing where these files are stored can be invaluable when backing up your workflow configurations.
4. Finally, familiarize yourself with Photoshop's plugin management. Navigate to Edit > Preferences > Plugins (Windows) or Photoshop > Preferences > Plugins (Mac) to manage which extensions are active and how they operate within your workspace. With these basics covered, you're ready to enhance your Photoshop experience with our carefully selected plugins.
List of top 8 Adobe Photoshop plugins & extension to boost your creative productivity!
1. Pureref

Pureref completely changes how designers and artists work with reference images in their creative process. While not strictly a Photoshop plugin (it runs as a standalone application alongside Photoshop), it's become an essential companion for serious digital artists and designers who need to keep visual references visible while working.
The application creates a dedicated workspace for arranging, scaling, and organizing reference images that stays on top of your Photoshop window without requiring constant switching between applications. What makes Pureref particularly valuable is its lightweight nature and intuitive interface—you can quickly drag and drop images directly from your browser or file system, instantly arrange them with simple mouse movements, and zoom in on details without losing your overall reference board organization.
For concept artists, illustrators, and designers who rely heavily on reference material, Pureref eliminates the frustration of constantly switching between tabs or juggling multiple windows. The ability to create custom reference boards for different projects and save them for future use makes it an indispensable tool for maintaining creative consistency across long-term projects or series.
Key features:
- Always-on-top functionality - Reference images remain visible while you work in Photoshop
- Drag-and-drop organization - Intuitively arrange multiple reference images in a single workspace
- Seamless zooming - Examine details without disrupting your overall reference board layout
- Multi-monitor support - Position your references on a secondary screen for maximum workspace
- Project saving - Store reference boards for different projects or concepts for consistent work
Getting started with Pureref:
- Visit pureref.com and download the application (pay-what-you-want model, including free)
- Install and launch the application—no integration setup needed as it runs independently
- Drag and drop images directly from your browser, file explorer, or desktop onto the Pureref board
- Use right-click to access the context menu for organizing your reference board
- Position the Pureref window alongside your Photoshop workspace for continuous reference access
- Save your reference board for future sessions using Ctrl+S
Workflow impact: Eliminates constant tab-switching and window management, creating a more focused creative environment while significantly reducing the time spent searching for reference material.
2. StockSolo
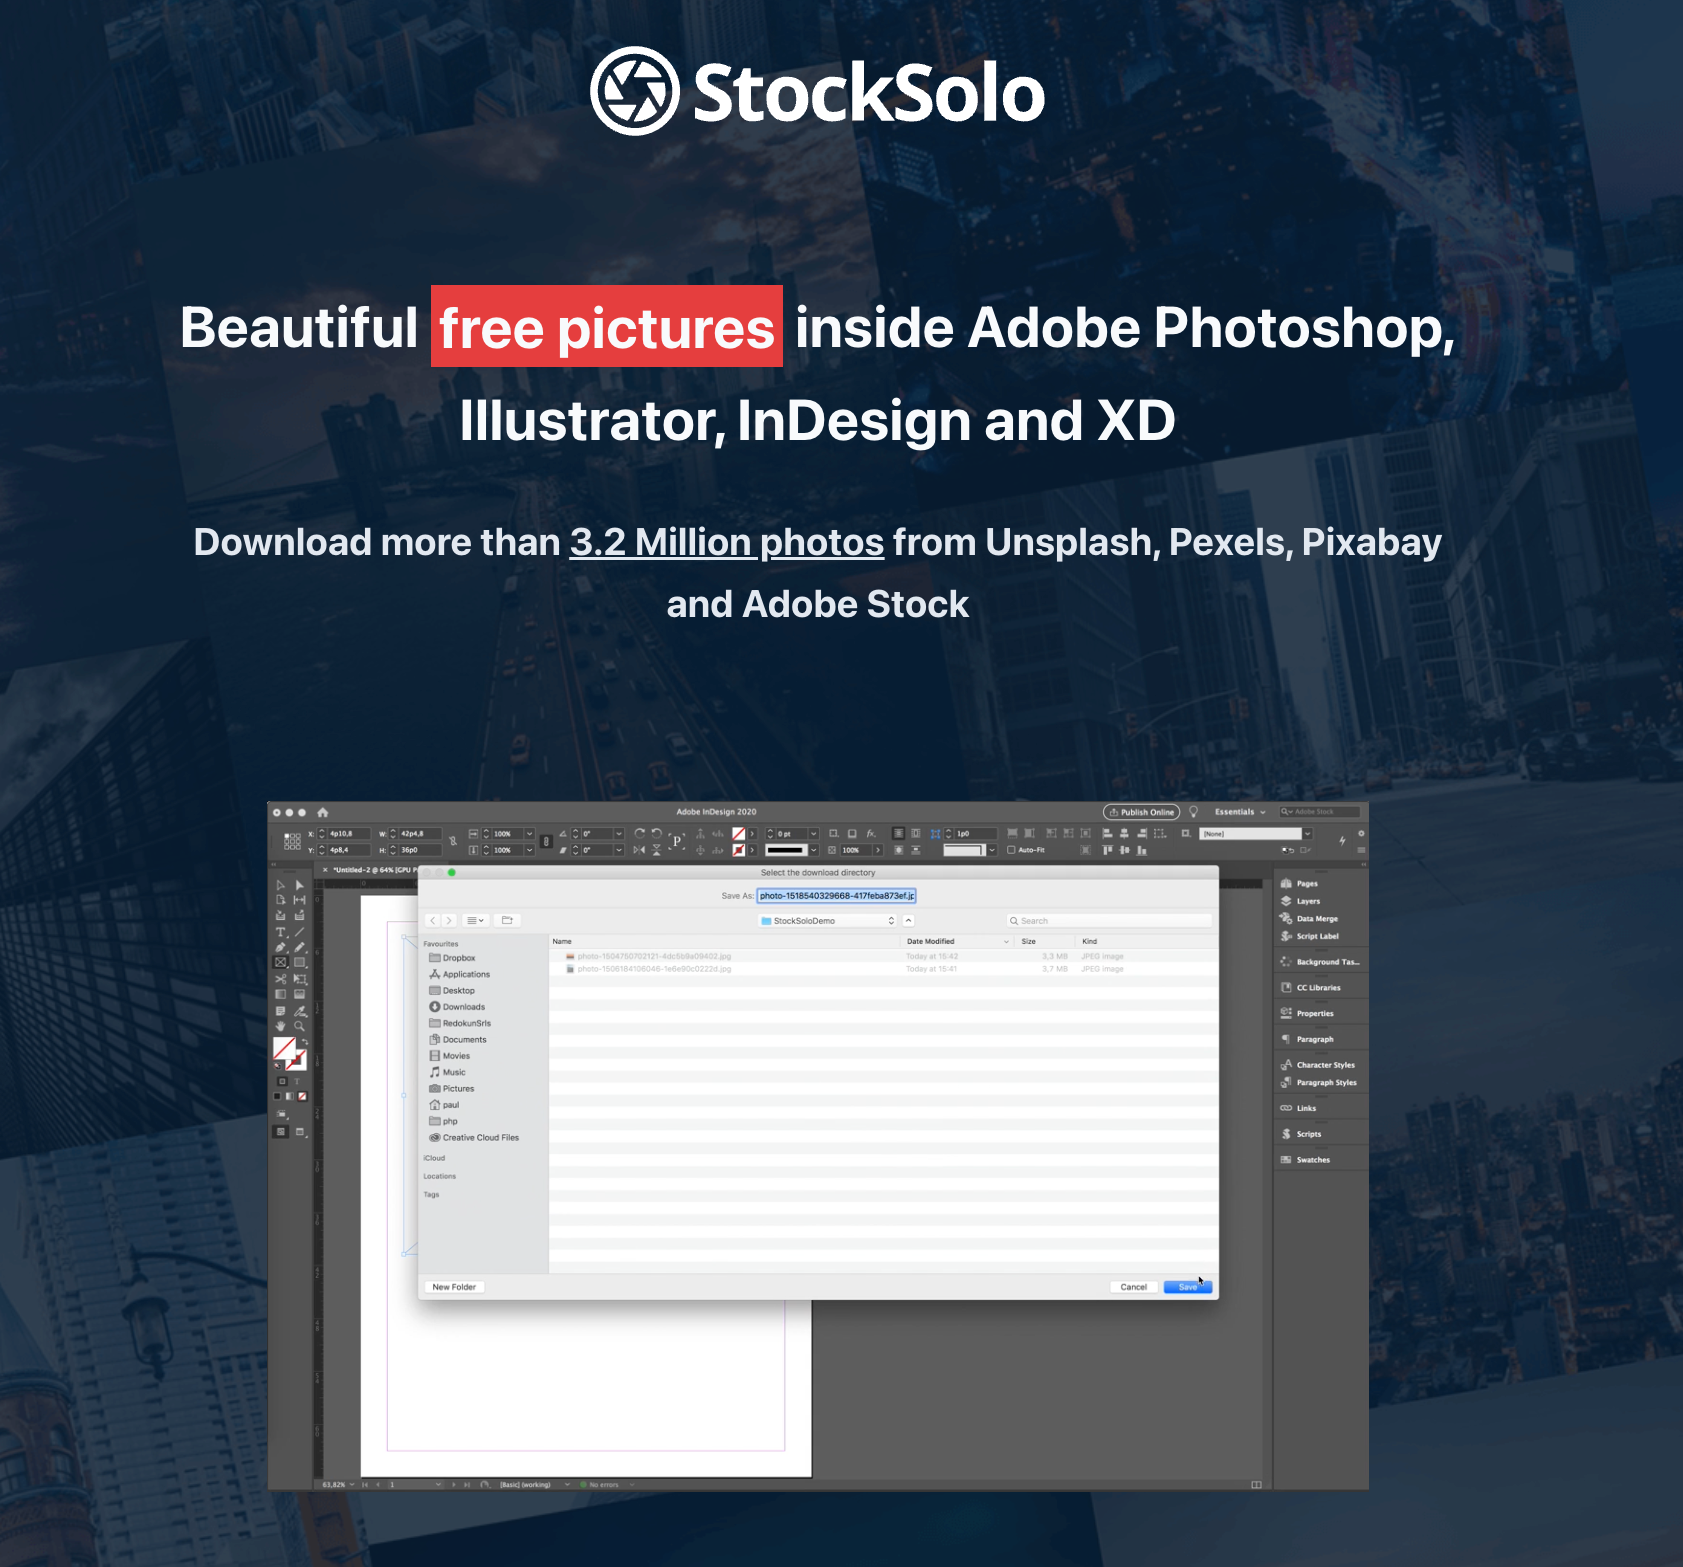
StockSolo brings Adobe Stock's vast library of images, illustrations, and graphics directly into your Photoshop workspace. This integration eliminates the need to switch between your browser and Photoshop when searching for and incorporating stock assets into your designs. The plugin allows you to search, preview, and place stock images without disrupting your creative flow—a particularly valuable feature when you're in the zone and don't want to break concentration.
What sets StockSolo apart is how it streamlines the entire stock asset workflow. When you find an image you like, you can immediately test it in your composition with a watermarked preview before committing to a purchase. If the image works well in your design, you can license it directly through the plugin and the high-resolution, unwatermarked version automatically replaces the preview in your document—maintaining all transformations, layer styles, and masks you may have applied to the preview version.
The interface thoughtfully mimics the familiar Adobe Stock web experience but optimized for Photoshop's environment. The search functionality, filtering options, and preview features operate similarly to the web version, making it immediately approachable for anyone who has used Adobe Stock previously.
Key features:
- Integrated search - Find the perfect stock asset without leaving Photoshop
- Preview mode - Test watermarked images in your design before purchasing
- Similar results - Discover related images based on your current selection
- Direct licensing - Purchase assets and automatically update your design
- Lightbox integration - Access your saved Adobe Stock collections
Adding StockSolo to your Photoshop toolkit:
- Open Photoshop and click on the "Plugins" panel in the right sidebar
- Click "Discover Plugins" to open the Adobe Exchange marketplace
- Search for "StockSolo" and click "Get" or "Install"
- Sign in with your Adobe ID if prompted
- Once installed, access StockSolo through Window > Extensions > StockSolo
- The panel will open, allowing you to search and browse Adobe Stock directly within Photoshop
Workflow impact: Eliminates disruptions to creative flow caused by switching between applications, saving approximately 2-3 minutes per stock asset integration and maintaining creative momentum.
3. Icons8
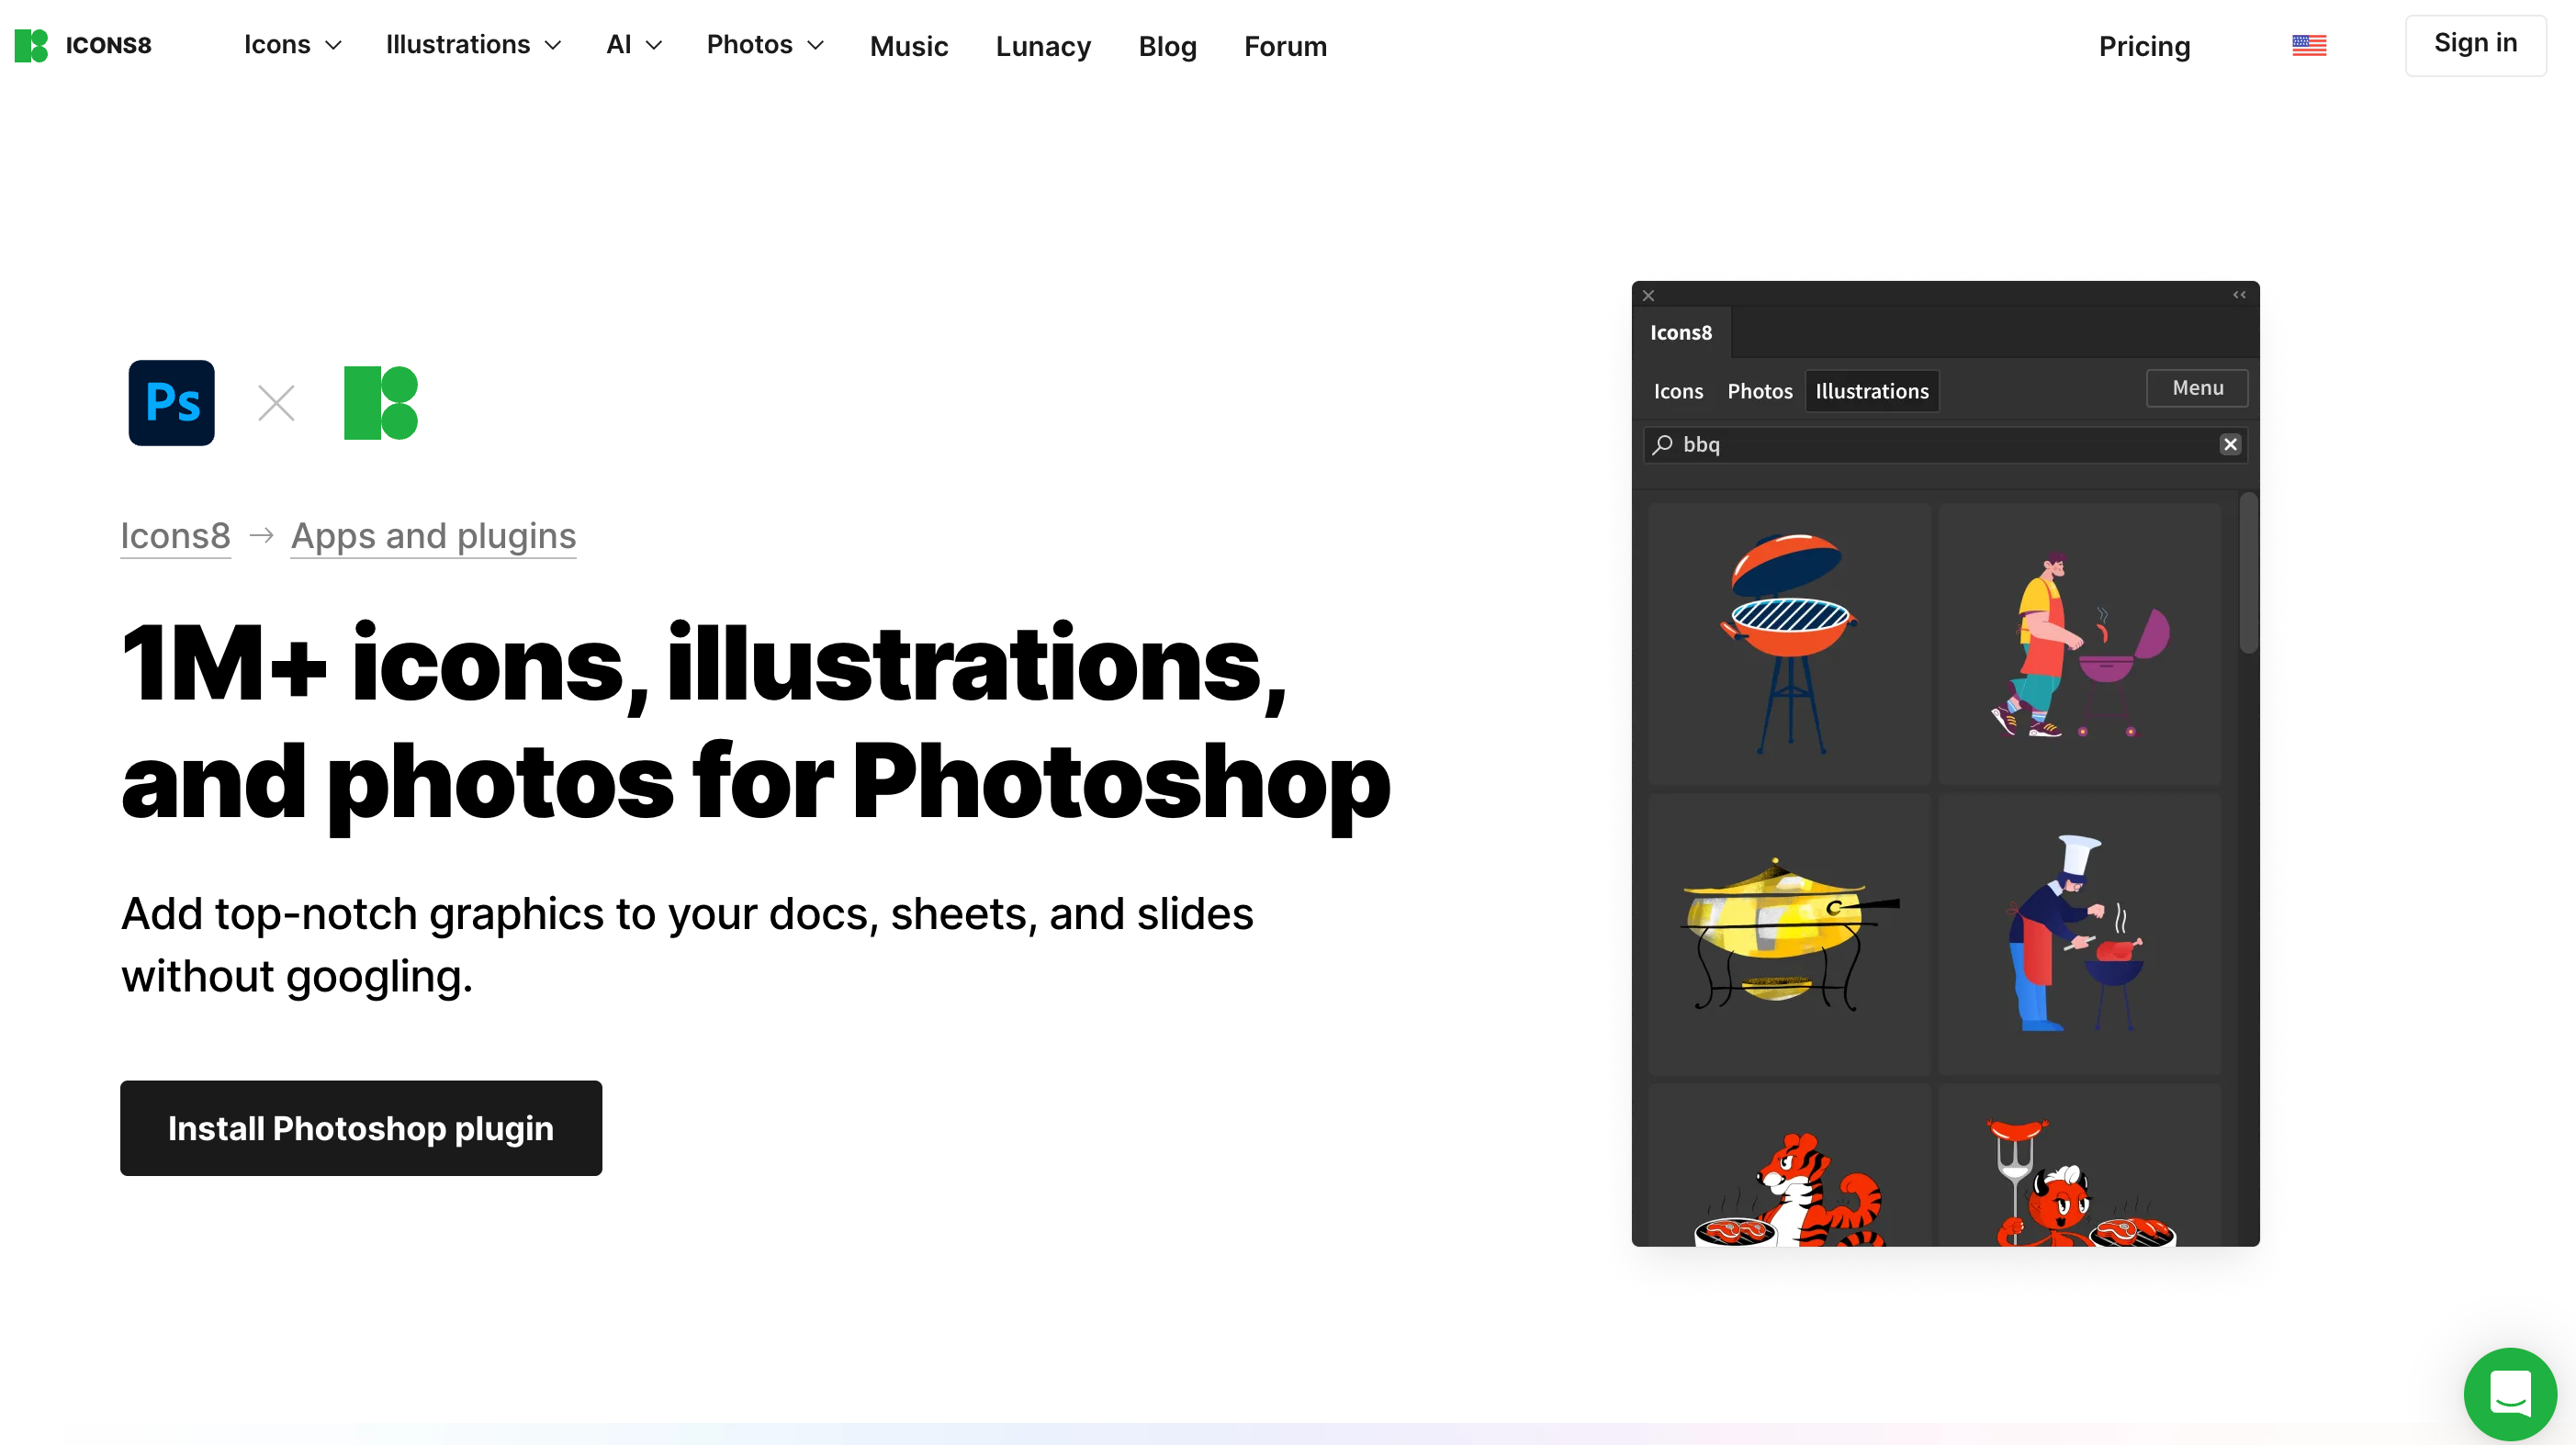
Icons8 is a comprehensive resource plugin that provides direct access to over 1.5 million icons, illustrations, photos, and vector graphics from within Photoshop. For designers who regularly incorporate icons and graphic elements into their projects, this plugin eliminates the need to visit external websites, download files, and then import them into Photoshop—streamlining what was previously a multi-step process into a seamless experience.
What makes Icons8 particularly valuable is the consistency and quality across its vast library. All icons are available in multiple styles (filled, outlined, colored, etc.) and can be instantly customized to match your project's aesthetic. The illustrations span various styles from playful to corporate, ensuring you can find appropriate graphics for any client or project type. For UI/UX designers working on interface elements, the ability to quickly access and implement consistent iconography significantly accelerates the design process.
The plugin features a clean, intuitive interface with powerful search functionality and logical categorization. Most designers can immediately understand how to use it, with minimal learning required to access its full capabilities. The preview function allows you to see exactly how elements will look before adding them to your document, and the direct SVG import ensures maximum quality and editability.
Key features:
- Massive library - Access to millions of design assets in various styles
- Style consistency - Find matching icons and illustrations within the same visual language
- Vector format - Import assets as fully editable vectors for maximum flexibility
- Color customization - Adjust colors directly in the plugin before importing
- Resolution options - Choose between various size options or import as vectors
Setting up Icons8 in Photoshop:
- Visit icons8.com/plugins and download the Photoshop plugin
- Close Photoshop if it's currently running
- Run the installer and follow the on-screen instructions
- Launch Photoshop and go to Window > Extensions > Icons8
- The panel will open, ready for you to search and browse the icon library
- Sign in with your Icons8 account to access all available assets
Workflow impact: Reduces asset acquisition from a multi-step, multi-minute process to a seamless 30-second implementation, particularly valuable for icon-heavy projects like app interfaces and websites.
4. Lightshot
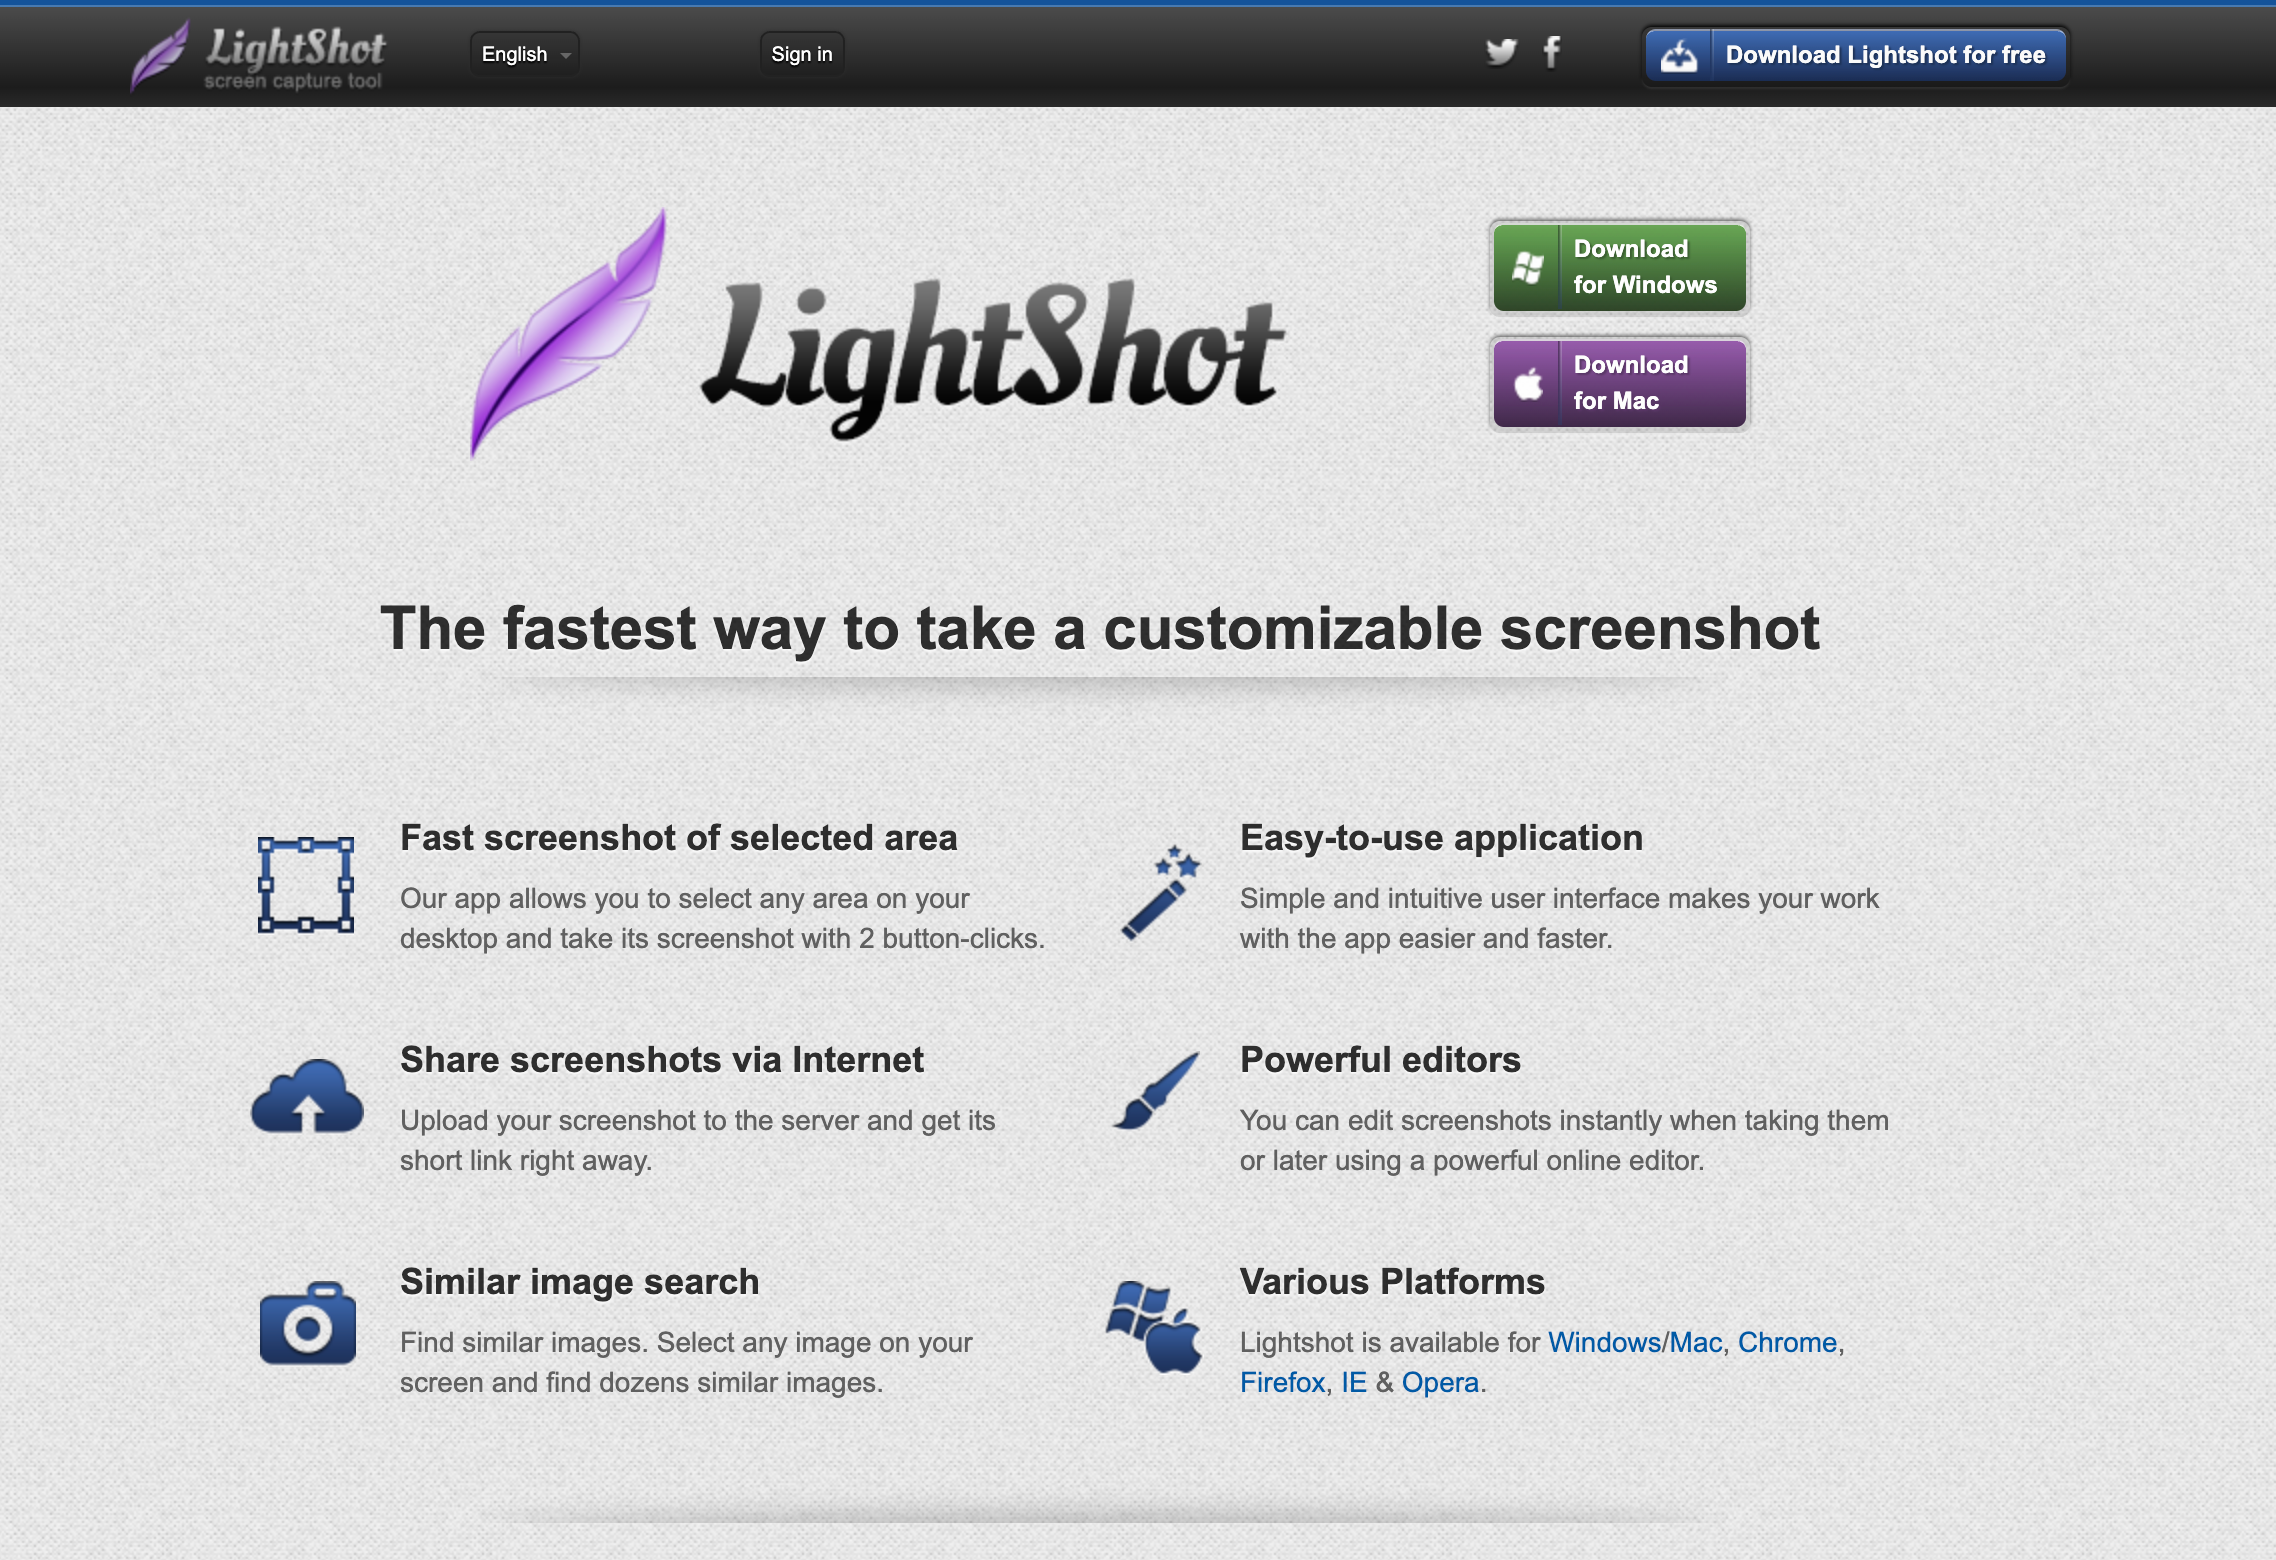
Lightshot streamlines the screenshot workflow for designers who frequently capture and reference screen content. While technically a companion application rather than a traditional Photoshop plugin, its seamless integration with your design workflow makes it an essential tool for professionals who regularly incorporate screenshots into their Photoshop projects or need to quickly capture and annotate interface elements for reference.
What makes Lightshot particularly valuable is how it streamlines the entire screenshot process from capture to editing to integration. Instead of using your operating system's built-in screenshot tool, then opening the image in Photoshop, Lightshot allows you to capture, annotate, and save or copy screenshots in one fluid workflow. The ability to instantly edit your screenshots with basic markup tools (arrows, text, highlights) before bringing them into Photoshop saves significant time when documenting design feedback or creating tutorials.
The application is remarkably lightweight and unobtrusive, replacing your system's Print Screen functionality with a much more powerful tool. For designers working on website mockups, app interfaces, or any project requiring reference to existing digital content, Lightshot eliminates several steps from the screenshot workflow while providing useful annotation capabilities.
Key features:
- Area selection - Precisely capture only what you need instead of the entire screen
- Annotation tools - Add arrows, text, shapes, and highlights without opening another application
- Direct to Photoshop - Send screenshots directly to Photoshop as new documents
- Cloud saving - Optionally save screenshots to the cloud with a shareable link
- Cross-platform support - Works consistently across Windows and Mac environments
Getting Lightshot into your workflow:
- Visit app.prntscr.com/en/index.html and download the appropriate version for your operating system
- Install the application and follow the setup instructions
- Press the Print Screen (PrtSc) key to activate Lightshot's selection tool
- Drag to select the area you want to capture
- Use the annotation tools that appear to mark up your screenshot if needed
- Click the Photoshop icon or copy to clipboard to send directly to Photoshop
- Your screenshot will appear as a new document or layer, ready for further editing
Workflow impact: Reduces screenshot capture, annotation, and import from a multi-application process to a streamlined 15-second workflow, particularly valuable for UI/UX designers and tutorial creators.
5. Luminar Neo
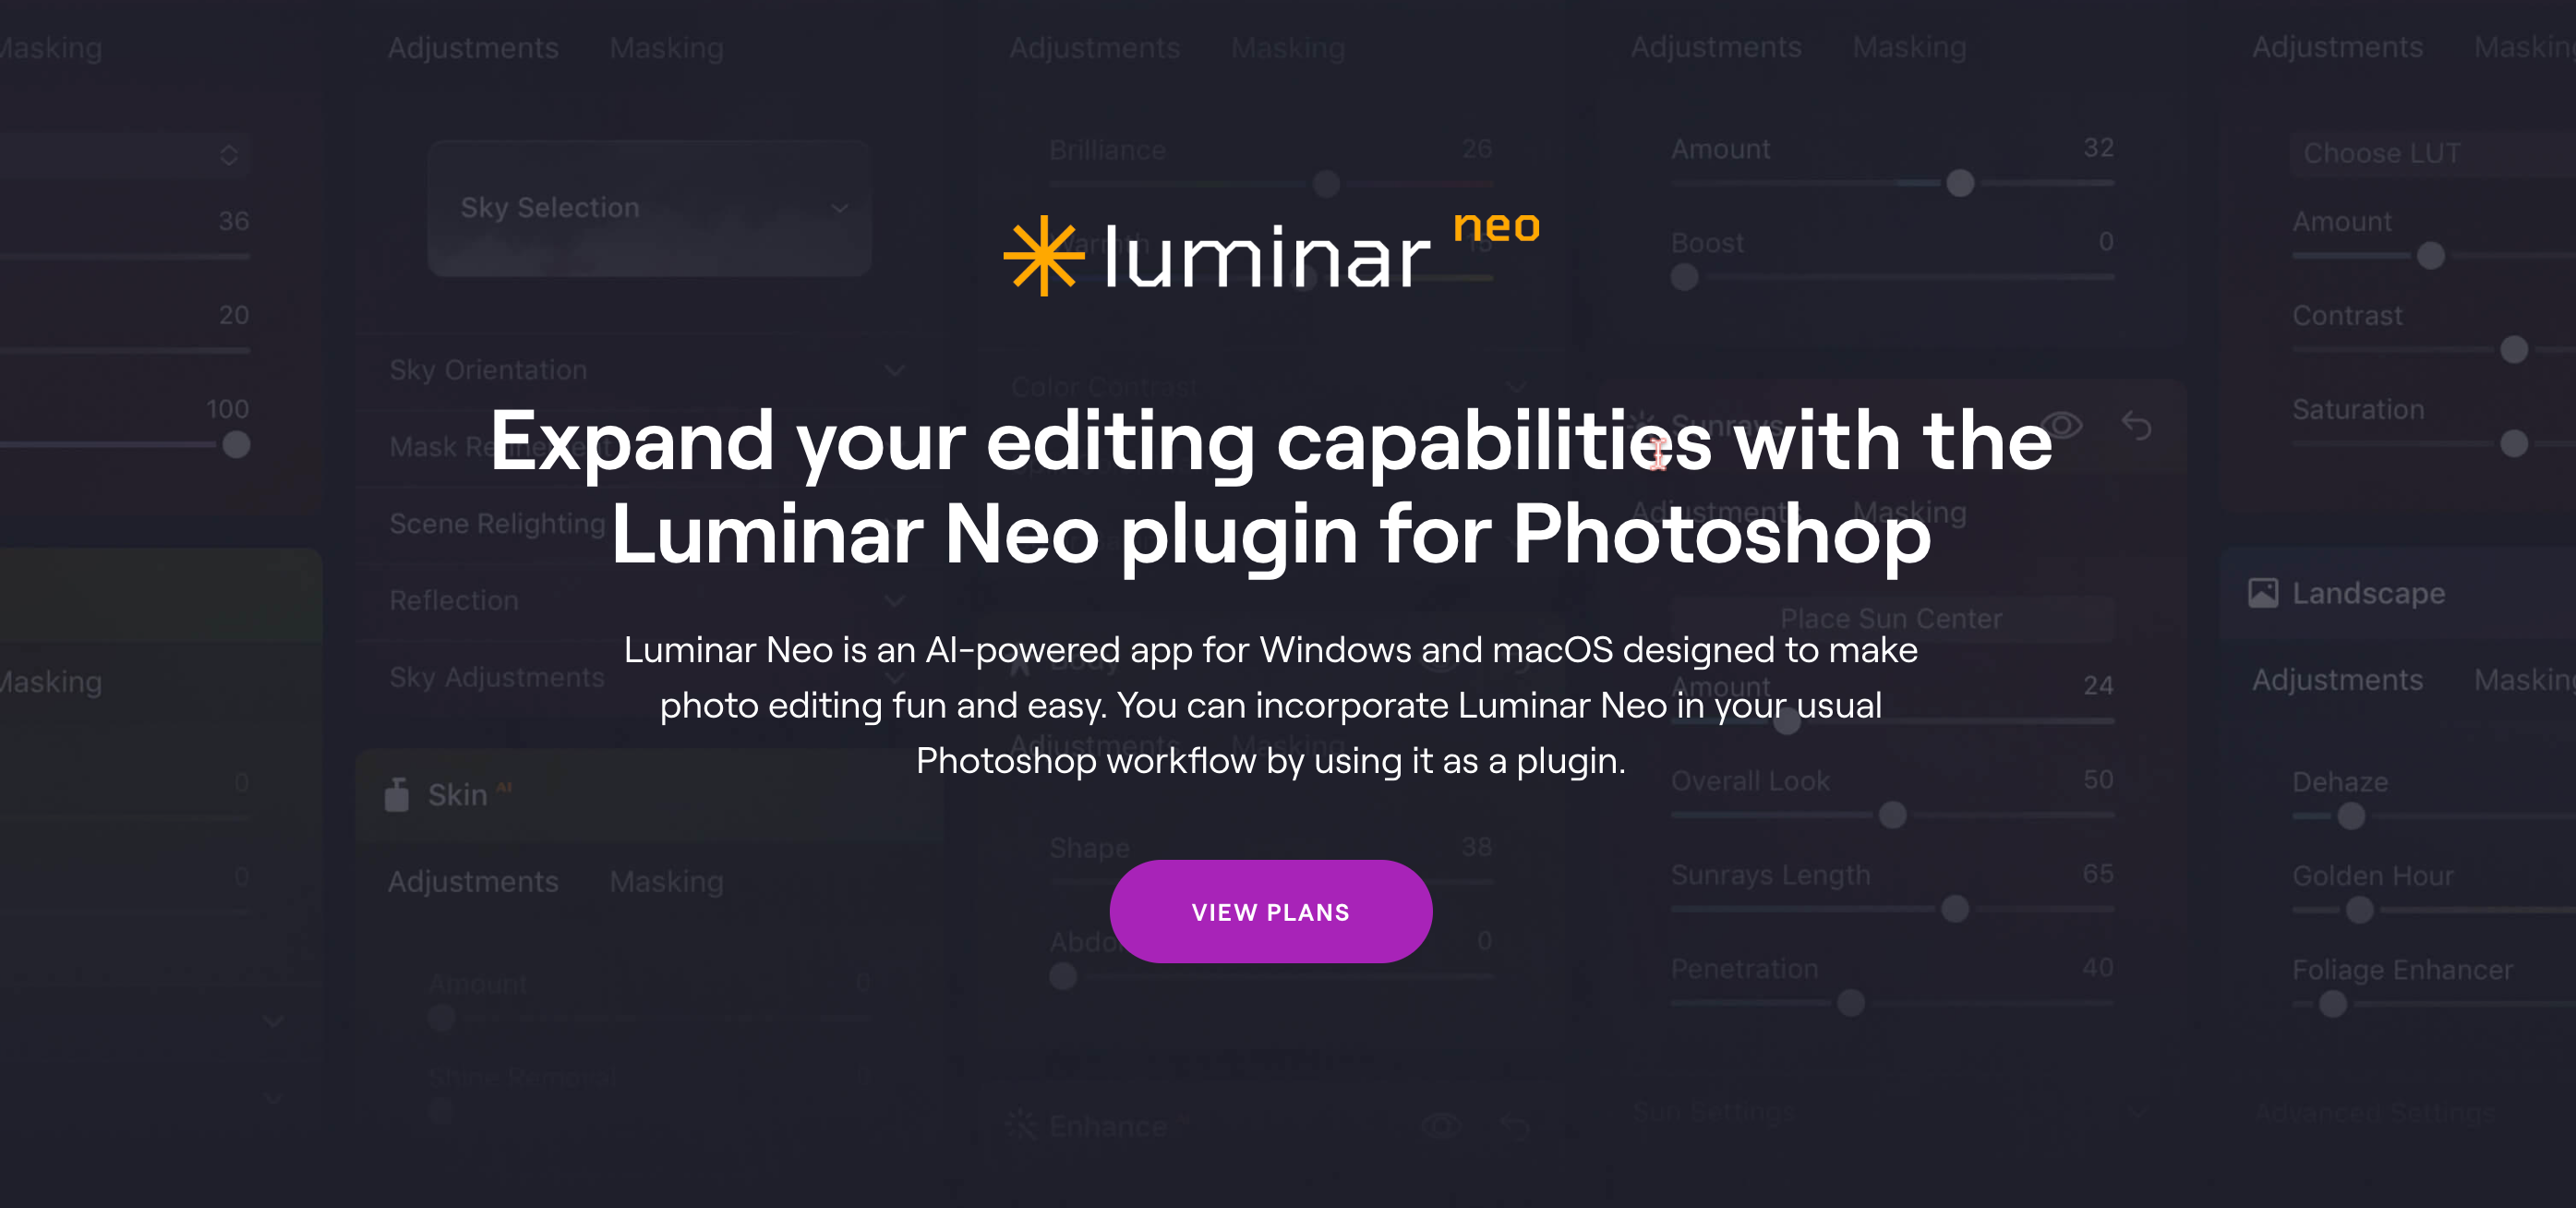
Luminar Neo brings advanced AI-powered photo editing capabilities to your Photoshop workflow. This plugin leverages artificial intelligence to analyze images and apply sophisticated enhancements that would typically require complex manual techniques. From portrait retouching to landscape enhancement, Luminar Neo's algorithms can transform images with remarkable precision and a fraction of the time traditional methods would require.
What sets Luminar Neo apart is its ability to understand the content of your images. The AI can identify different elements like sky, foliage, buildings, and human subjects, then apply appropriate enhancements to each element independently. This contextual awareness allows for incredibly natural-looking results even with dramatic adjustments. The sky replacement tool, for example, not only swaps the sky but intelligently adjusts the foreground elements to match the new lighting conditions, creating a cohesive final image.
The plugin offers both one-click presets for quick enhancements and detailed adjustment controls for those who want more fine-grained control. This flexibility makes it valuable for both photographers looking to streamline their workflow and designers who need to quickly enhance stock photos or client images without extensive manual editing.
Key features:
- AI-powered editing - Intelligent analysis and enhancement of different image elements
- Sky replacement - Realistic sky swapping with automatic foreground adjustment
- Portrait enhancement - Natural skin smoothing, eye enhancement, and facial contouring
- Object removal - Smart elimination of unwanted elements with content-aware fill
- Atmosphere effects - Add realistic fog, sunrays, and lighting effects to images
Integrating Luminar Neo with Photoshop:
- Visit skylum.com/luminar-neo and purchase or download the trial version
- Install the standalone application first, following the installation instructions
- During installation, ensure the "Photoshop Plugin" option is selected
- Launch Photoshop and open an image you want to enhance
- Go to Filter > Skylum Software > Luminar Neo
- Your image will open in the Luminar Neo interface
- Apply your desired enhancements and click "Apply" to return to Photoshop
Workflow impact: Reduces complex retouching tasks from hours to minutes, particularly for portrait photography and landscape enhancement.
6. Aperty
Aperty addresses one of the most tedious aspects of professional image processing: performing the same operations across multiple files. This powerful automation plugin allows photographers and designers to create, save, and apply complex editing workflows to batches of images simultaneously, dramatically reducing the time spent on repetitive tasks like resizing, watermarking, format conversion, and basic adjustments.
What makes Aperty particularly valuable is its intuitive action recording and editing system. You can create a sequence of operations in Photoshop, save it as an Aperty action, then apply it to hundreds or thousands of images with consistent results. The batch processing runs in the background, allowing you to continue working on other projects while Aperty handles the heavy lifting of mass image processing.
The plugin features a clean, workflow-oriented interface that integrates seamlessly with Photoshop's existing panels. The learning curve is remarkably gentle considering the power it offers—most users can master the basic functionality within 15-20 minutes, while the more advanced batch processing features become intuitive with regular use.
Key features:
- Action recording - Create complex editing sequences for later application
- Batch processing - Apply the same edits to multiple images simultaneously
- Smart targeting - Process specific file types or folder structures
- Export presets - Save optimized export settings for different platforms
- Background processing - Continue working while batch operations run
Setting up Aperty in your workflow:
- Visit aperty.io and download the plugin
- Close Photoshop before running the installer
- Follow the installation instructions to complete setup
- Launch Photoshop and go to Window > Extensions > Aperty
- The panel will open, ready for you to record or load batch operations
- Start with simple operations like resizing or format conversion
- Graduate to more complex batch processes as you become comfortable
Workflow impact: Transforms hours of repetitive editing into automated processes that run in minutes, particularly valuable for photographers processing large image sets or designers preparing assets for multiple platforms.
7. Prisma

Prisma brings advanced artistic style transfer capabilities directly into your Photoshop workflow. This innovative plugin uses neural network technology to analyze the stylistic elements of famous paintings, illustrations, and artistic styles, then applies these characteristics to your photographs or designs. The result is a seamless transformation that goes far beyond traditional filters, creating truly artistic interpretations of your images with remarkable detail and authenticity.
What sets Prisma apart from standard Photoshop filters is the sophistication of its algorithm. Rather than simply overlaying textures or adjusting colors, the plugin analyzes the fundamental composition, brush stroke patterns, color relationships, and artistic techniques of the chosen style, then thoughtfully applies these elements to your image while preserving its essential structure and focal points. The results can range from subtle artistic enhancements to dramatic stylistic transformations, depending on your creative vision.
The plugin offers an extensive library of artistic styles, from Renaissance masters to contemporary digital art aesthetics. Each style can be fine-tuned with intensity controls and selective application options, allowing for precise creative control. For designers and photographers looking to add unique artistic touches to their work without extensive manual painting or filter combinations, Prisma offers an unparalleled combination of quality and efficiency.
Adding Prisma to your creative toolkit:
- Visit prisma-ai.com/photoshop and download the plugin
- Close Photoshop if it's currently running
- Run the installer and follow the on-screen instructions
- Launch Photoshop and open an image you want to transform
- Go to Filter > Neural Filters > Prisma
- Browse the style library and select your desired artistic effect
- Adjust the intensity and application settings to taste
- Click "Apply" to render the effect on your image
Key features:
- Style library - Hundreds of artistic styles from classical to contemporary
- Intensity control - Adjust the strength of the effect for subtle or dramatic results
- Selective application - Apply styles to specific areas using layer masks
- Resolution preservation - Maintain image quality even with intense transformations
- Custom style creation - Train the algorithm on your own reference images
Workflow impact: Reduces complex artistic stylization from hours of manual filter work to a few minutes of adjustment, particularly valuable for creating unique marketing visuals or artistic photography.
9. PSD Extract/Recover

PSD Extract/Recover is a specialized utility plugin that can be a true lifesaver in emergency situations. This powerful tool can extract and recover content from corrupted Photoshop files that won't open normally, potentially saving hours or days of lost work. For professionals working on complex projects with tight deadlines, having this recovery capability in your toolkit provides valuable peace of mind and a safety net for those inevitable technical mishaps.
What makes PSD Extract/Recover particularly valuable is its ability to salvage various elements from damaged files. Even if the entire PSD can't be recovered, the plugin can often extract individual layers, smart objects, text elements, and embedded resources. This partial recovery capability means you may be able to save your most important work even from severely corrupted files. The plugin can also repair certain types of file structure damage, potentially restoring PSD files to full functionality.
The interface is straightforward and process-oriented, focusing on maximum recovery rather than complex options. When you're facing a file emergency, this simplicity is a benefit—you can quickly initiate recovery without navigating complicated settings. The plugin works with Photoshop's native file format and understands its internal structure, providing more effective recovery than generic file repair utilities.
Key features:
- Layer extraction - Recover individual layers from corrupted files
- Smart object recovery - Extract embedded smart objects as separate files
- Text preservation - Maintain editable text elements when possible
- Resource recovery - Extract embedded images and graphics
- File structure repair - Fix common PSD file corruption issues
Using PSD Extract/Recover when disaster strikes:
- Visit recoverypsd.com and download the plugin
- Install the plugin following the provided instructions
- Launch Photoshop and go to File > Automate > PSD Recovery
- Browse to locate your corrupted PSD file
- Click "Analyze" to let the plugin examine the file's structure
- Review the recovery options based on what content was found
- Select which elements to recover and where to save them
- Click "Extract" to recover as much content as possible
Workflow impact: Can potentially save days of work by recovering content from corrupted files that would otherwise be completely lost.
Here's how to get the most out of these Photoshop plugins!
To maximize the benefits of these powerful plugins, consider implementing a strategic workflow that integrates them at specific points in your creative process:
- Start with organization - Use Pureref at the start of any project to gather and arrange reference materials that will guide your creative direction. Having these references visible throughout your process helps maintain consistency and inspiration.
- Optimize your image acquisition - When you need stock photos or icons, use StockSolo and Icons8 to find and import assets directly into your composition without breaking your creative flow. This immediate access to resources keeps you in the creative zone.
- Apply enhancements selectively - Rather than applying Luminar Neo or Prisma effects to your entire document, consider using them on specific layers or smart objects to create focal points or visual interest in key areas of your design.
- Automate repetitive tasks - Identify patterns in your workflow where Aperty could save time through batch processing. Common examples include preparing images for web galleries, creating multiple social media sizes, or applying consistent adjustments to photo sets.
- Implement a robust backup strategy - While PSD Extract/Recover can save you in emergencies, establish regular backup points during complex projects, and consider using Photoshop's built-in versioning to prevent file corruption issues from derailing your work.
- Finalize with precision - When your creative work is complete, use SuperPNG to create optimally compressed files for digital distribution, ensuring your work looks its best while maintaining reasonable file sizes.
Cut down feedback loops by 50% with GoVisually!
By implementing these plugins and extensions, you've now eliminated up to 30% of your manual design work and reclaimed your creative hours each week. But here's the uncomfortable truth that most design teams don't address: while you've optimized your creation process, you might still be losing massive amounts of time on the backend.
Multiple research says that average designer spends most of their working hours in managing feedback and implementing revisions. And the common cause here is disorganized feedback loops leading to vague comments, conflicting requests, and the endless back-and-forth of misaligned expectations.
Even the most streamlined design workflow collapses under the weight of comments scattered across emails, screenshots with hand-drawn annotations, and verbal feedback that gets lost in translation. This is exactly why most design teams have started integrating GoVisually alongside their Photoshop toolkit. By centralizing feedback in one collaborative platform, they've reduced their revision cycles from an average of 2 weeks to just 4 hours per project.
And this combination has helped companies reduce their feedback loops by 50%!
The math is simple here: plugins optimize how you create; and feedback systems like GoVisually optimize how you collaborate.
So ready to see how a streamlined feedback management system could complement your Photoshop workflow? Schedule call with our experts today!