Ever sent a voice note to someone on WhatsApp, thinking you made your point clear, but when you play it, you are barely audible due to some unidentifiable noise in the background?
Well, that can happen while recording video for your film as well. It happens more often than you would think!
Luckily, there is a solution to it: ADR.
Not sure what that is? Worry not, because today, we are going to learn all about it!
So put your learning goggles on, and let’s get right into it.
Cut design & video review time in half
Try GoVisually free today!
Table of Contents
ADR definition film
For anyone who is even remotely familiar with the world of filming, the importance of the audio of a film can not be understated. While the film is being shot, it is crucial for a certain amount of quiet on the set so that the audio remains untainted. However, sometimes, it’s simply not possible.
The truth is that film sets come with some noise that can not be avoided. For example, what if a plane flies overhead while the film is being shot? That’s the kind of thing you can’t help, and yet, it adversely impacts the audio! And the worst part is that these are the kind of sounds you don’t register while filming – they only come to light once you sit down to compile and edit your file footage. And by then, it’s too late. Right?
Wrong, because that’s where ADR comes in.
But firm, what does ADR stand for in a film? It stands for Automated Dialog Replacement.
And now, what does ADR mean in the film? The ADR, meaning film enthusiasts refer to, presents it as the process of re-recording audio in a quieter place and then attaching that audio with the video footage. Usually, this involves the re-recording of dialogue by the original actor in a studio and works as an opportunity to improve the original audio quality. Sometimes, ADR can also be used to fix any last-minute dialogue changes that might have taken place.
Instances where ADR in the film is used
At this point, you might be wondering how exactly the ADR process is implemented. We’ll get into this a little later in the article, but let’s say that it’s not rocket science and, in actuality, is a routine process for filmmakers. While it was quite complicated for people to do this back in the day, it is now pretty simple – using the latest technology and techniques, filmmakers can easily loop the section that needs the ADR without even touching the rest of the footage.
Although we have already mentioned a few situations that might prompt an ADR director to opt for ADR, let’s discuss these instances in depth! In essence, ADR can be used when.
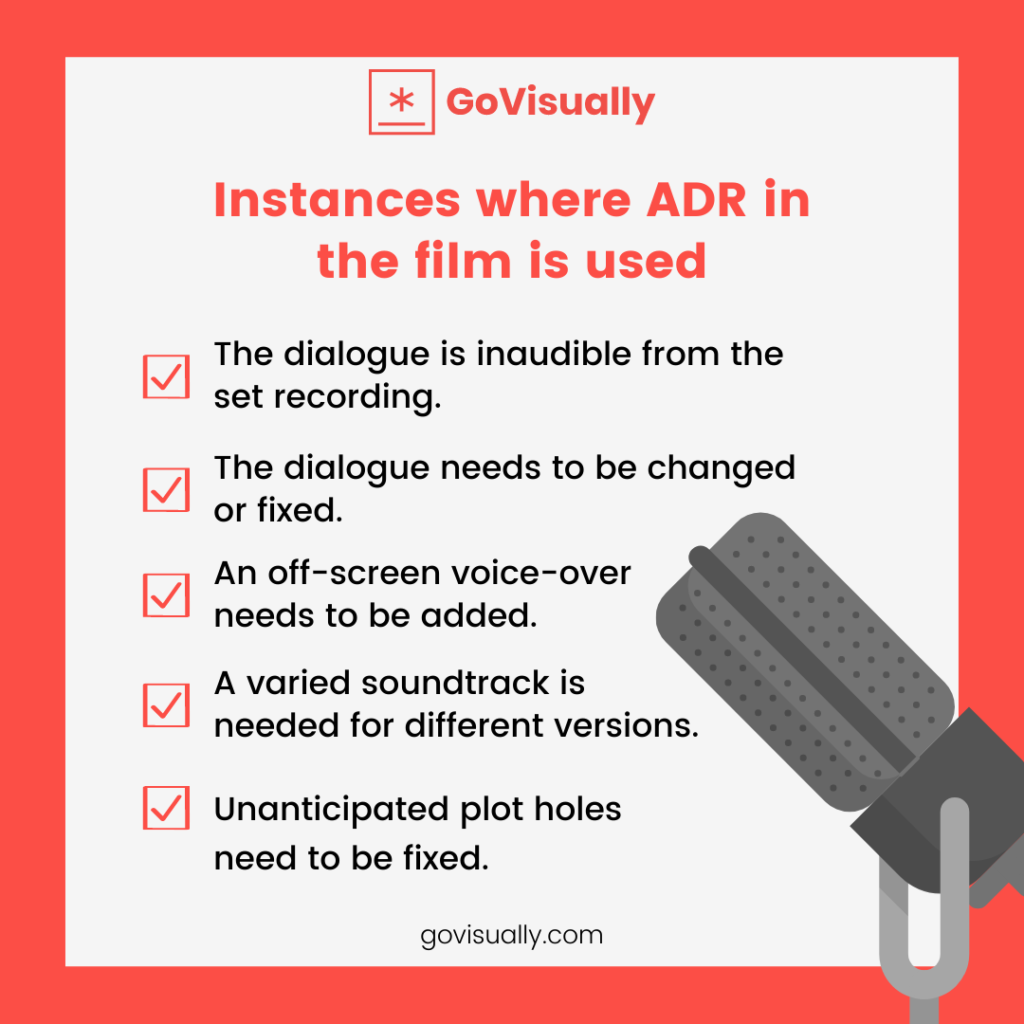
1. The dialogue is inaudible from the set recording.
If your film is being shot in a noisy setting like Times Square or during something like a rainstorm, then it is evident that the dialogue will be inaudible. So, if your film is being shot in an inherently noisy setting, ADR in the film is an excellent choice to consider
2. The dialogue needs to be changed or fixed.
Another common reason behind ADR is that the dialogue has a lot of space to go wrong. Sometimes, the actor’s line reading can be off, whereas other times, you realize that dialogue doesn’t make as much sense as you thought it did. It is also common for accents to change during the line reading, and ADR allows filmmakers to fix all of these in film.
3. Off-screen voice-over needs to be added.
Some scenes require a voice-over. For example, Penn Badgley’s role as Joe in YOU required a lot of voice-overs, to the point that his on-screen lines were considerably less in number than the dialogue that had to be added as a voice-over.
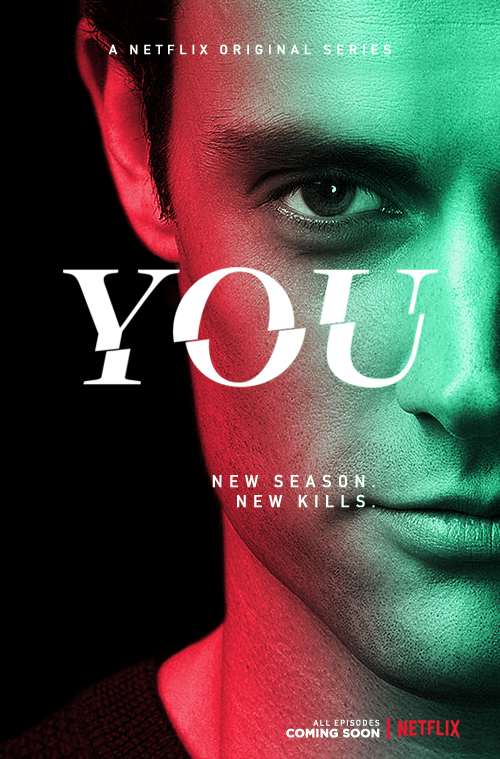
This is just one example – countless other films and shows require off-screen ADR dialogue, which can be added during the ADR process.
4. Varied soundtrack is needed for different versions.
If you are distributing your film to different distributors, then the chances are that you will have to vary your soundtrack and general sound differently. For example, where some distributors allow adult language and profanity, others don’t. This, too, can be fixed through ADR.
5. Unanticipated plot holes need to be fixed.
You can always find some unanticipated plot holes and or errors with your story during the pre-production stage. These last-minute problems can easily be fixed through ADR! At times, ADR in film can also be used to improve the overall continuity of your story, and hence is an excellent option if you want to add some final touches to your work.
ADR in the film: the technical bits
With all that being said, it’s time to glance at the technical side of ADR. How exactly do filmmakers achieve ADR?
While the process is no rocket science, it is not completely straightforward either – mainly because it requires much work.
The ultimate goal of the process is to get what is known as ADR recording. This is done during an “ADR session” and involves the actor in question watching a scene over and over again, along with listening to the original audio on headphones. The purpose of this is to familiarise the actor with the scene so that they can match every line they re-do with the lip movement that has already been shot.
A checklist for seamless ADR.
If you decide to use ADR for your videos, here’s a little checklist that you can follow to ensure that you are executing the task seamlessly.
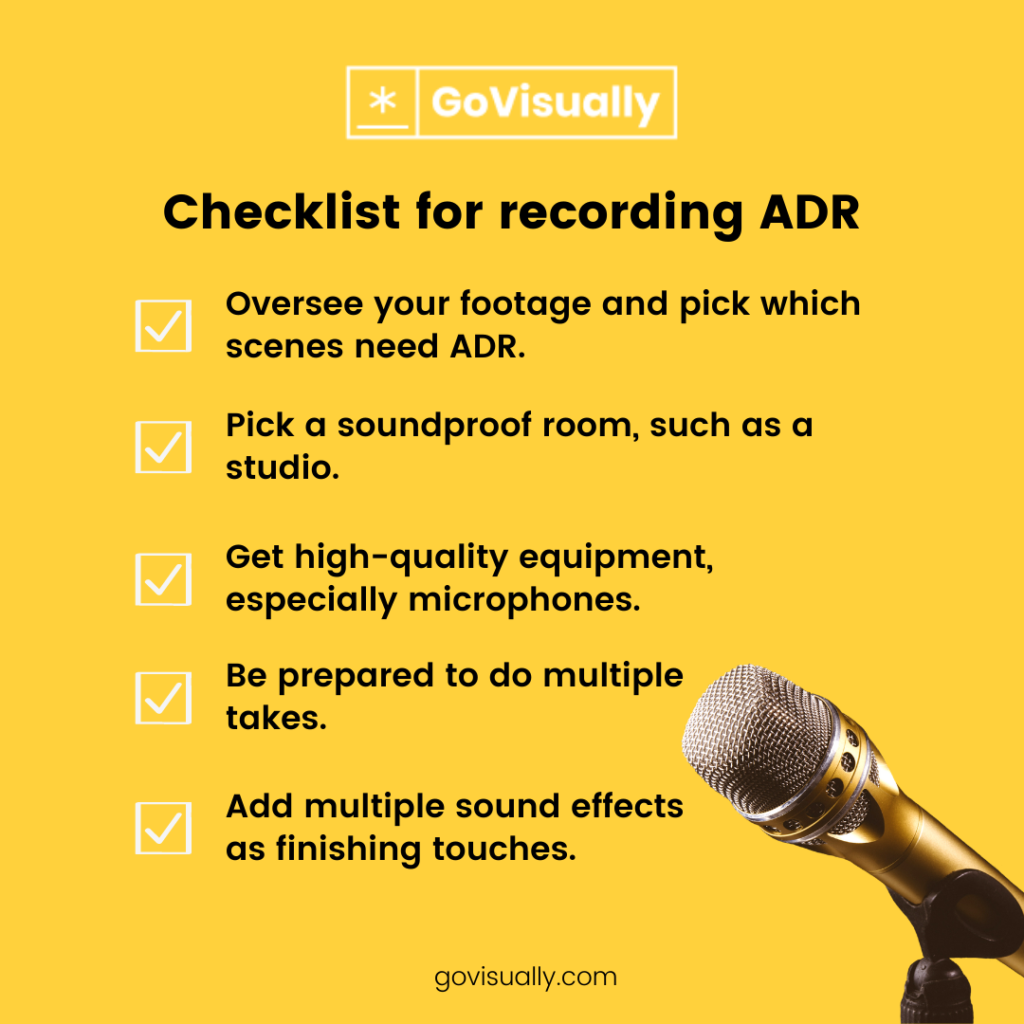
1. Oversee your footage and pick which scenes need ADR.
The first step is to watch the entire footage and pick out the scenes that need to be fixed using ADR. The trick here is to be selective about the scenes you use for ADR. Naturally, not every scene will need ADR, and it’s going to be better overall if you pick a few scenes as you possibly can! No, seriously, ADR requires a lot of time, effort, and money, which is why you need to be extremely careful while deciding which scenes to pick for ADR.
2. Pick a soundproof room, such as a studio.
So, the whole point of ADR is to produce clear audio. Also, to recreate audio that’s better than the one you already have.
For this reason, your recording needs to be devoid of any noise or external interference. The best way to do this is to carry out your ADR session in a soundproof room, preferably a studio. This way, you can focus on the audio and make sure it is of the right quality.
3. Get high-quality equipment, especially microphones.
On the subject of quality, you must also make sure that you are using the best equipment. There is no point in going through all the trouble of ADR and then not being able to use it just because you didn’t use the right equipment. Even though high-quality microphones will be more or less of an investment, it’s going to be worth it. That’s because if you don’t do that and rely on cheaper options instead, it can cost you your whole project.
Also, to help you even further, here are a few pieces of equipment that you are going to need for ADR:
- Microphone.
- Digital Audio Workstation (DAW)
- Video Monitor
- Headphones
- Preamp/Interface
4. Be prepared to do multiple takes.
If you are doing ADR, then you would probably not want to go through the exertion of double-takes. That’s because technically, the ADR itself is the second take! However, it would help if you prepare yourself for the possibility of getting multiple takes if the first one doesn’t work.
We’ll even go as far as to say that various takes are a must! Think of it this way: if you have multiple takes of the ADR, then you have a fool-proof audio strategy that you can implement and the room to be creative and see what audio works the best for your film. So: get multiple takes.
5. Be prepared to add multiple sound effects as finishing touches.
Just because you are repeating the dialogue doesn’t mean your audio is bound to become perfect automatically. You will still need to improve it as you do with other sorts of audio. And by that, we mean editing!
You’re still going to have to edit the ADR recording, add sound effects, put in some improvements and final touches.
Some examples of the software that can help you with this task include:
- Avid Pro Tools
- Adobe Audition
- Nuendo
- Cubase
- Ableton Live
Following these steps, you can get the perfect ADR audio that complements your already shot footage.
Want to send big files?

Need a quick way to share large files and creative assets?
With GoVisually Share, it’s absolutely free! Try today.
Review your audio files and video footage with GoVisually!
If you want to make the best out of your audio reviewing and approval process, we’d suggest using GoVisually.
GoVisually is the best video proofing online software that simplifies the process and makes you stay on top of your game by gathering feedback in one place. With its power-boosting features, user-friendly interface, and 1000+ integrations with other project management tools and apps, your audio team’s reviewing process can become heaven!
And as far as the sound of your film is concerned, you are pretty much sorted thanks to ADR. If anything goes wrong in the production stage, you can quickly fix it during the pre-production stage through ADR.
