2023 has proved that video content is a game-changer for brands. Today, 85% of marketers encourage every business to have a video production workflow and push out video content. And rightly so!
- Customers retain almost 95% of information from a video.
- 80% of people prefer video content over other forms.
- And even at GoVisually, videos are our second most uploaded format for approval.
But setting up an easy video production workflow is not easy.
In fact, if done poorly, the video production workflow can be chaotic.
It involves multiple stakeholders and many things to check off throughout the production process from start to finish. And everything from the filming to the editing to the review has to be seamless.
So the question is, how does one create a seamless video production workflow?
Whether you’re a creative agency, an entrepreneur, or a content creator searching for the answer, our guide will cover it all.
We’ll discuss the following:
- What video production workflow entails.
- Why does your business need a video production workflow?
- 5 steps for a full-proof video production plan
- 3 creative tips to hack the video approval process
Let’s start!
Table of Contents
What is a video production workflow?
A video production workflow is a clearly defined, sequential process planned out before the project begins.
A team or multiple teams must accomplish everything, from the tiniest detail to the more significant tasks. This ensures that the project is completed on time and meets quality standards.
Why does your business need a video production workflow?
Everything from content creation to reviewal and feedback requires careful attention. And team collaboration, while excellent, can be a recipe for a production disaster. And if it’s bad enough, it can be pretty expensive to fix.
Miscommunication and confusion are inevitable if everything is unclear before the project begins. Ideally, a project should only start when all the details are laid out, eliminating the possibility of mishaps.
This is especially important during the review and feedback process. Videos undergo countless iterations; every frame is deliberated over and edited. You need frameworks to track what’s happening with that many cuts and edits.
Remember that the marketing world is fast-paced; brands must constantly churn out high-quality campaigns, including video content. So everything needs to be done quickly, and everything needs to be done right!
Big-scale projects that involve many teams and stakeholders require an organized approach to minimize bumps along the road. Video production workflows structure your project, ensuring everyone stays on track and goes as planned.
There’s no need to panic; we’ve got you covered!
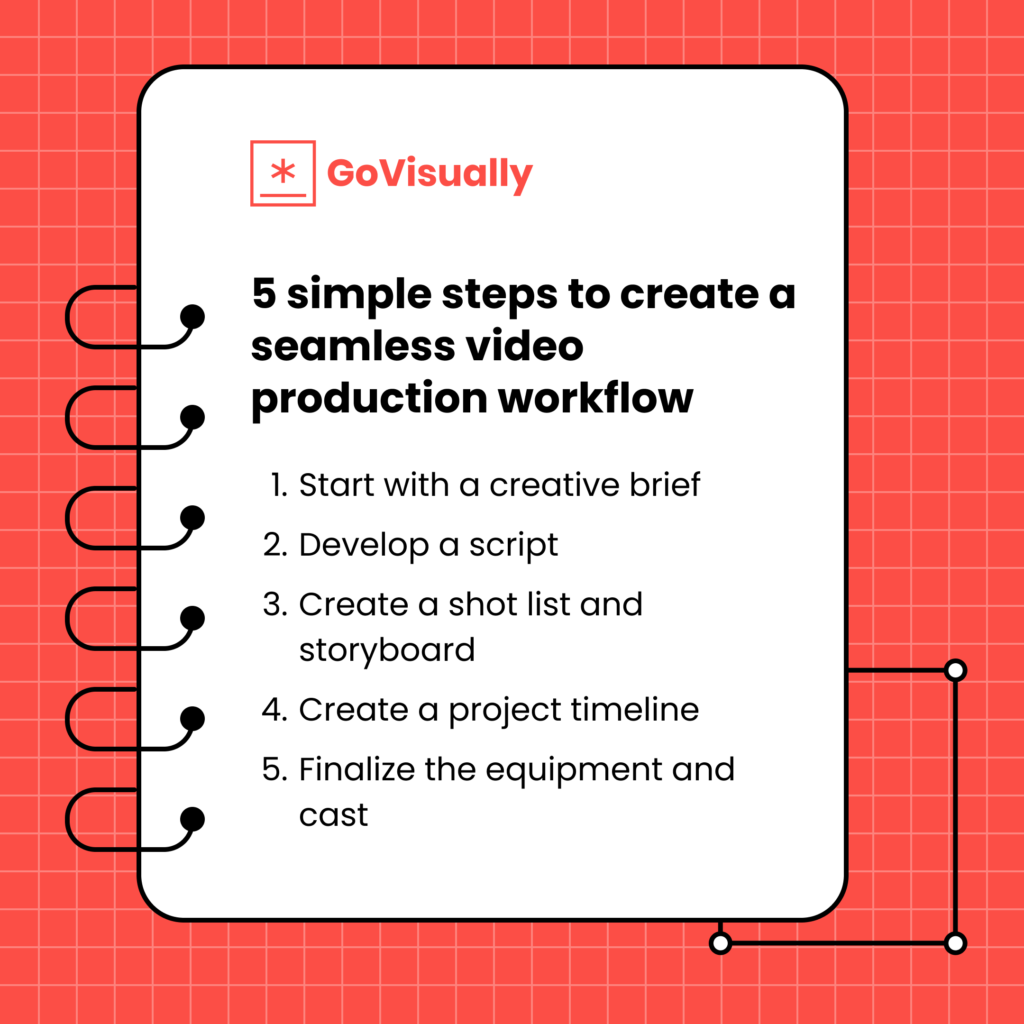
How to create a seamless video production workflow in 5 simple steps
Follow these steps to create a smooth video production workflow for your team.

1. Start with a creative brief
Your priority should be to begin with a creative brief.
The creative brief outlines what the client wants and hopes to accomplish with the project. If it’s an in-house production, you’ll need to map out your goals and visualization for the video.
Your creative brief must contain two primary aspects of the upcoming project; narrative and objectives. This means the content of the video and what big-picture goals it will lead to. For example, your goals could be lead generation, boosting conversions, or building brand awareness.
Whatever they may be, they need to be outlined, and your video content needs to align with and bring you closer to these goals. It also helps set smaller goals, like a 5-10% increase in online engagement.
You must also create a rough timeline for when it will begin and the completion deadline. This helps keep everyone involved on track, with a time limit in mind.
2. Develop a script
The next thing you need to start working on is the video script. Depending on the video length you’re creating, this may take a long or short time. People often assume that video content is all about appealing visuals.
While that may be true, a good script carries your visuals!
Take your time developing an engaging, actionable video script. When the initial draft is ready, it’s time for the script to make the rounds among collaborators and stakeholders.
For smooth reviewal processes, we recommend using the #1 online proofing software like GoVisually. Scroll to creative tips to read more about this.
3. Create a shot list and storyboard
Step three is creating a storyboard and shot list!
Use your script to start mapping out visuals for your video. Your script might have to go through another round of revisions to better align with your visuals.
A storyboard lets you combine ideas in the physical (or digital) form to see how they work together. That includes color schemes, set designs, costumes, and anything else you need to bring your video together aesthetically.
Similarly, you’ll need a shot list. This makes your filming process more organized, giving the crew clearly defined frameworks to work with for both A and B rolls.
4. Create a project timeline
Before moving on to casting and sourcing equipment, you must create a well-defined project timeline. This will be built on the rough timeline you created initially, except it’ll be considerably more detailed.
You can also use this time to assign roles to your team; clearly defined roles eliminate overlapping tasks. You’ll all save considerable time during the project when everyone knows what they need to do.
We recommend using project management software for this. A project management software like Trello will ensure transparency from your team and help managers oversee and track workflows throughout the project.
5. Finalize the equipment and cast
This is the last step(s) you need to take before beginning video production. If your video has characters, you need to have a cast. Create a list of the cast you need and have it approved by everyone who needs it.
Similarly, you’ll need video equipment. Make a checklist of all the equipment you’ll need. This will be especially helpful if you’re renting it. This helps ensure no piece of equipment gets missed out when filming begins.
If you’re unsure what equipment you’ll need, here’s a list. Depending on your team’s needs, you can add or take out whatever you like.
Here’s a list of the video equipment you’ll need:
- Headphones
- Lights
- Lenses
- Cameras
- Tripod
- Light reflectors
- Microphones
- Props
- Cables
- Batteries
- Hard drives
- Memory cards
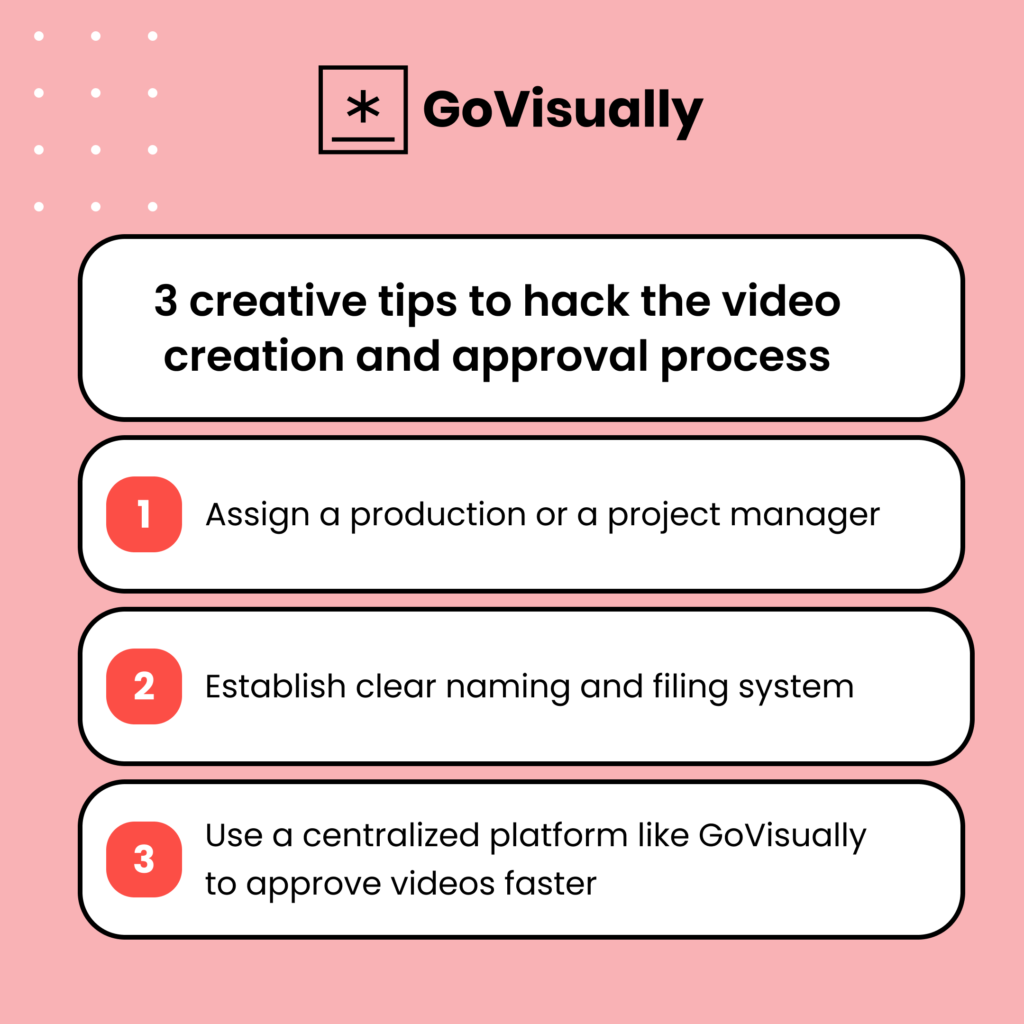
3 creative tips to hack the video creation and approval process

1. Assign a production or a project manager
Without the right leader, any creative project is always on the brink of leashing havoc.
For any creative project to be delivered rightly, you need a project manager to oversee all quality and delivery standards. This is especially relevant for complex projects that involve video production.
A project manager should ideally be the person who:
- Has strong communication skills
- Is ideally a people person or at least demonstrates good leadership skills
- Knows the ins and outs of the projects more than anyone else
- Is willing to take up the responsibility
- Guide team members with resources
- Sets clear expectations and responsibilities
2. Establish clear naming and filing system
We’re all guilty of naming files as ‘final version final 123 last one’ or a similar rendition that reflects the pain of re-editing and re-naming.
And while that makes an excellent material for memes and jokes, locating a file from a bundle of these can be a hassle during the project.
So early in the process, decide on a clear filing system and have all team members sort according to it.
Your filing system can look like this:
- Project name: all the files to be sorted under it.
- Raw footage: a folder that contains all the raw footage.
- Audio files: a folder with only audio files.
- Graphics: a folder dedicated to all the images and graphics.
- Edited: a folder with the edited versions and templates.
You’ll notice that even having a simple filing system like this in place will make creative work so much easier for you and your team.
3. Use a centralized platform like GoVisually to approve videos within minutes, not days!
GoVisually is one of the most trusted video proofing software created to streamline collaborations and facilitate teams through review processes.
You can use GoVisually throughout the video approval process, allowing everyone involved to get instant access to any updates and changes made to the files.
Team members and stakeholders can leave comments on specific timestamps of your video projects, keeping everyone in the loop about the feedback. This will save you and your team valuable time and effort you wouldn’t have been able to save if you went back and forth via email or simple cloud-sharing software.
Head to GoVisually to sign up today and unlock productivity.
Final takeaway
Any collaborative process can get very messy very quickly if not handled properly. However, you and your team can do your best to ensure minimal glitches, and I hope that this guide helps you deliver great video content consistently.
To make sure the feedback and review process goes as smoothly as your team deserves, don’t forget to use GoVisually for faster approvals!


