How to Write a Packaging Design Brief?

Do you experience endless challenges and bottlenecks in reviewing and approving your packaging briefs and label artwork? Feeling hopeless? Worry no more because you have the ideal tool to transform your work and improve collaboration like never before. Meet the packaging briefs for label artwork, your dependable choice to help you manage all your creative briefs like a pro. It is time to say goodbye to the cumbersome paper trail process and enter an era of effective collaboration.
So why would you want to use it? Picture a world where every stakeholder is in sync, feedback, and adjustments are simple, and wasted time doesn’t exist. That is what our guide has to offer to the table and aims to alleviate some of the stress points in your creative briefs procedure to guarantee that the journey from concept to completion is easy.
How to Write a Packaging Design Brief?
Crafting an innovative, powerful label requires detailed planning and attention to detail. A complete packaging brief design checklist forms the roadmap, ensuring every crucial aspect is observed in the label artwork method.

1. Setup - Adobe Illustrator
Properly configuring Illustrator from the start lays the groundwork for an error-free label design process. So here the steps to get it donerightly.
Setting the Artboard Size
To begin with, you need to open a new document in Illustrator and configure the artboard size to match the exact label dimensions specified in the packaging brief. Pay close attention to the measurements provided here because even minor deviations can result in issues during printing.
Configuring Print Settings
Next up, review the print specifications outlined in the brief and ensure that your Illustrator document is set up accordingly. In other words, set the appropriate units of measurement (inches, millimeters, etc.), color mode (CMYK, Pantone, etc.), and define the bleed area. The bleed extends the artwork slightly beyond the trim line, compensating for minor shifts during cutting and ensuring a clean finished product.
Saving and Exporting Files
Additionally, it is recommended that you save your initial Illustrator file in native AI format, as this will preserve all editable vector elements. That way, you can allow for further modifications if needed. Nevertheless, other file formats for final delivery, such as PDF or EPS, can be exported later.
[embed]https://youtu.be/OBLcDeZB1NE?si=XcqTc2zsbfOcOitP[/embed]
2. Template & Dieline Orientation
The crucial first step is laying the foundation with the proper dieline template and orientation. Follow the below steps carefully.
Getting the Dieline/Template File
First, you'll want to refer to the packaging brief for the specific dieline or template file provided. These outline the precise cut paths, folds, and panels for the particular product packaging. Using the correct dieline template is crucial.
Orienting the Dieline
Once you have the dieline file imported into Illustrator, take a moment to orient it accurately on the artboard. The positioning and rotation must match how the label will be printed and applied precisely. Otherwise, you could end up with upside-down text or misaligned graphics - definitely not ideal!
Wraparound vs Single Panel
Speaking of orientation, confirm if the label artwork is wraparound or just for one panel. This small but vital detail determines how you'll need to set up the design elements. For example, a wraparound label requires thoughtful continuity between the front and back panels.
Organizing Dieline Elements
Use labeling layers or groups to identify things like cut lines, fold markers, and orientational notches on the dieline. Keeping these elements organized makes it easy to toggle their visibility as you progress through the design phases.
Aligning Reference Graphics
Lastly, double-check that any reference graphics or imagery align perfectly with the dieline orientation. Misaligned assets are a common pitfall that can throw off an otherwise flawless label design.
3. Artwork Layout
The artwork layout phase requires proper layout and structure. To begin with, setting up layers in an intelligent manner is paramount for maintaining an orderly and easy-to-navigate file. Additionally, correctly defining the bleed area ensures your artwork will print cleanly to the edges.
Layers
Layers in Illustrator act as separators, allowing you to group and separate different design elements logically. For instance, you may have distinct layers for the label background, product imagery, text elements, etc. The packaging brief will likely guide you in structuring these layers.
Typically, this involves creating asset layers for images and graphics, then annotation layers for dimensions, dielines, and instructions. Adhering to this layering convention facilitates seamless navigation and editing by any team member. Moreover, clear and descriptive layer names, such as "Packaging Dieline" rather than "Layer 3," significantly enhance file accessibility.
Bleed
In addition to layers, correctly setting the bleed area is essential. The bleed refers to the extension of artwork beyond the trim line. Furthermore, it ensures no undesirable white borders appear on the printed piece. Most packaging briefs specify a standard bleed area ranging from 1/8" to 1/4" extended past the trim line.
Any background colors or graphics intended to extend to the label's edge must fill this bleed zone. Consequently, when trimming the piece, there will be no errant white lines. However, ensuring that outer text, barcodes, or detailed graphics only encroach a little far into the bleed area is crucial, as they risk being inadvertently trimmed off.
You might alse be interested in What is a Creative Brief in the Graphic Designer's World?
4. Images in Layout
Images are the essence of design brief, so make sure to follow the below steps close get it done rightly.
Image Requirements
Imagery can make or break a label design, so it's crucial to handle product photos and graphics with care in your layout. First, refer to the packaging brief for specific image requirements or guidelines. Some brands provide photography, while others leave it to the designer.
Image Resolution
If you're sourcing images, pay close attention to the resolution and quality specs in the brief. Low-resolution photos can look pixelated and unprofessional when printed in larger sizes. As a rule of thumb, aim for at least 300 dpi resolution for crisp results.
Placing Images Properly
Next, you'll want to incorporate the images into your Illustrator layout properly. Avoid embedding them directly—that leads to image quality degradation. Instead, either link/place the high-res files or embed them using the package feature to maintain editability.
Using Clipping/Opacity Masks
Speaking of editability, make liberal use of clipping masks and opacity masks if you need to "cut out" product shots from their backgrounds. This alternative method preserves the original image data in case changes are required later.
Considering Bleed Area
When positioning images, keep an eye on that bleed area we discussed earlier. Bleeding background graphics or textures off the edges are recommended. However, product shots or precise image details should have a safe buffer from the trim line.
Image Layer Organization
Finally, develop a simple layer for your images, such as an "Images" layer group. This makes it easy to quickly toggle image visibility or lock them in place while focusing on other design elements.
5. Text in Layout
Refer to the packaging brief's requirements for font families, sizes, and text hierarchy. Use Illustrator's Type Tool and group text on separate layers. Establish a clear visual hierarchy through text sizing. Allow for proper spacing and balance— leverage Illustrator's text editing tools like spell check. Combining brevity with the brief's specifications, you'll achieve clean, readable text layouts that complement the overall design.
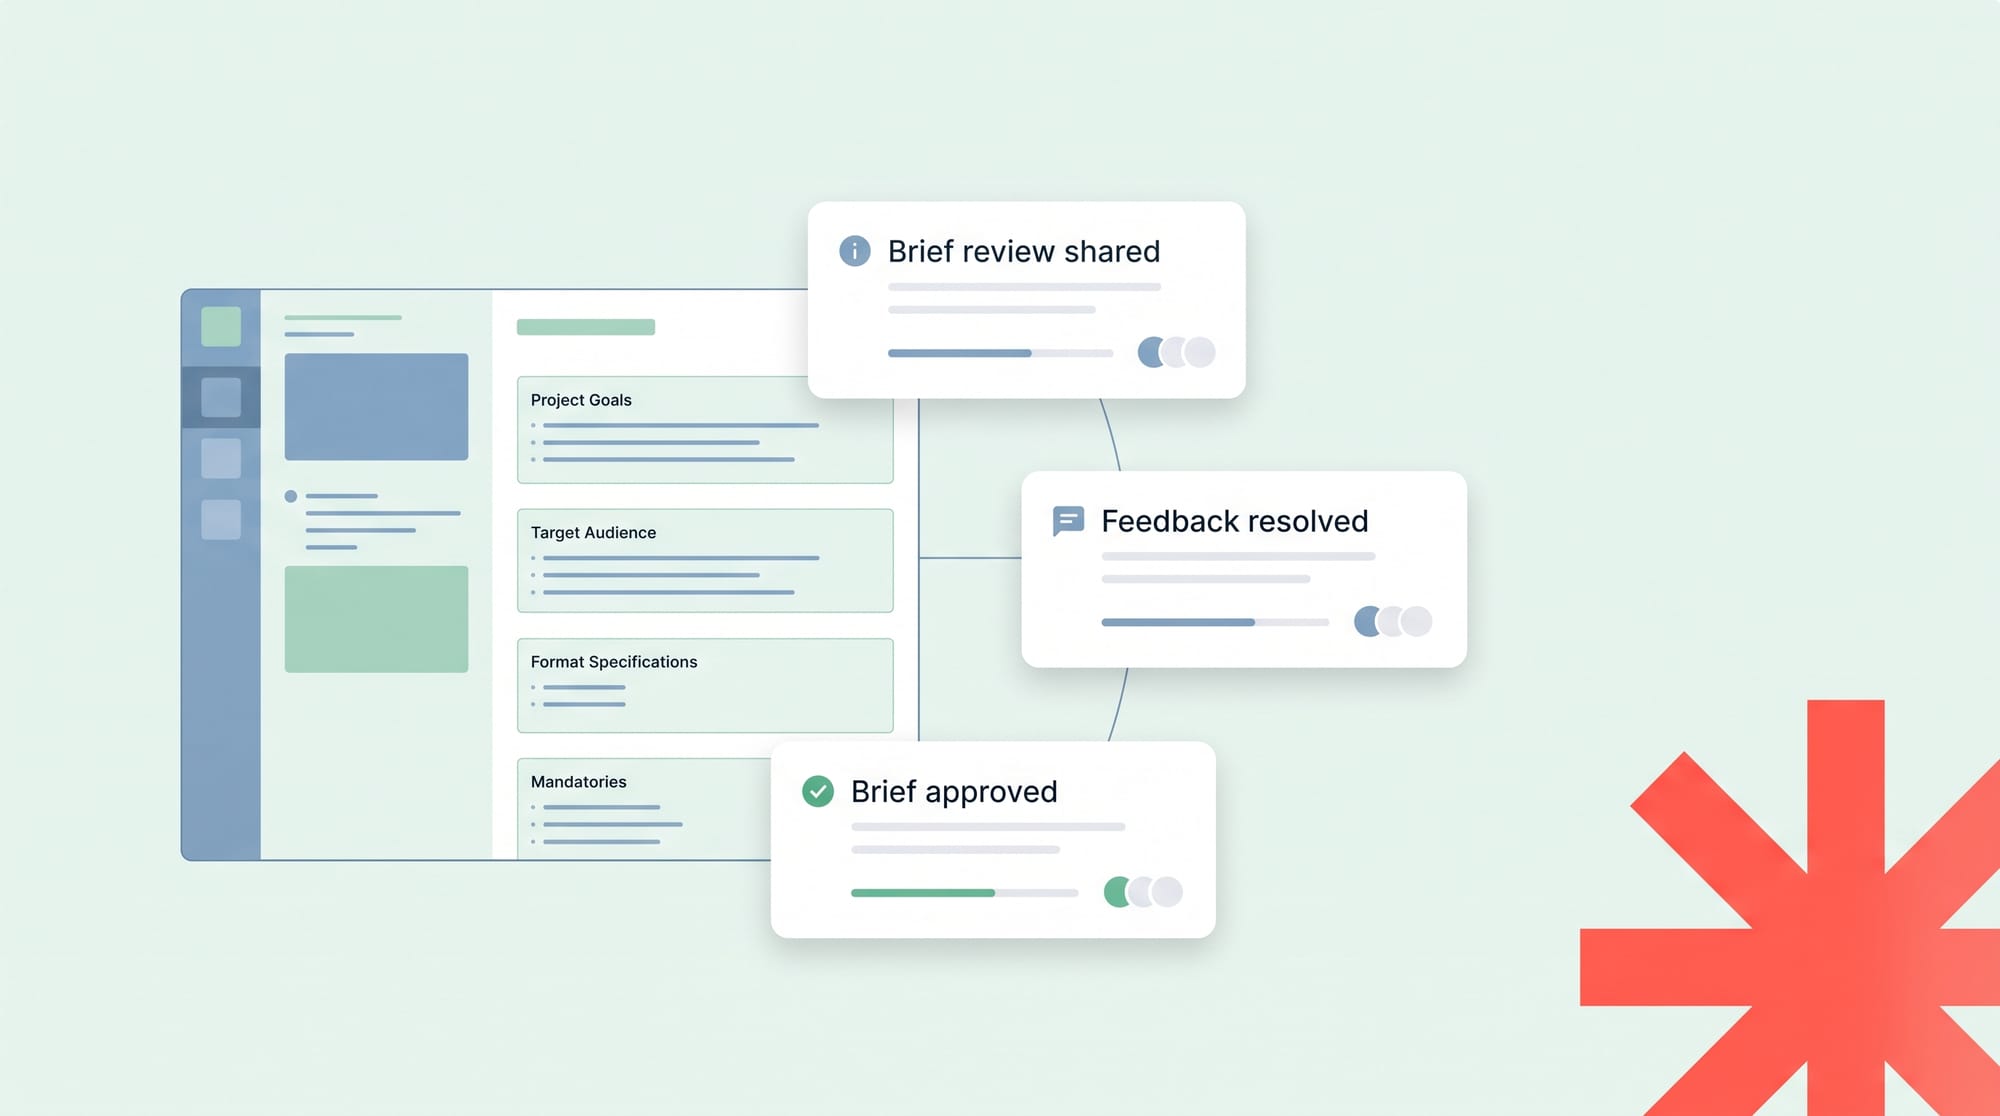
GoVisually's online proofing platform simplifies the packaging artwork approval process and manages comprehensive packaging briefs.
[elementor-template id="14684"]
Moreover, this is how you can use smartnotes by GoVisually:
- Creating Smartnotes: Click "Add > Smartnote" to create a new one.
- Smartnote Types: Drafts are visible only to the creator. Published notes are accessible to selected project members.
- Editing: Open the Smartnote and click "Edit Draft" to make changes.
- Editor Features: Typography options, text formatting, lists, attachments, tables, and content types like URLs and code blocks.
- Publishing: Click "Publish" when ready. Published notes cannot revert to drafts. Optionally restrict access.
- Privacy: By default, published notes are public. Toggle visibility to limit access to specific members.
- Comments: Those with access can comment using the sidebar.
With our powerful annotation tools and built-in workflow features, we help improve communication and collaboration among cross-functional teams involved in the packaging design process. This approach ensures that packaging briefs are well documented and that all feedback is addressed correctly.
We can help you with the packaging brief. To proceed further with us, simply create your account now.
FAQs:
1.What should be included in a packaging design brief?
Key details to consider include product information, design requirements, branding guidelines, legal/regulatory elements, and practical considerations.
2. What are the main specifications of a design brief?
Critical specifications include dimensions, material, finishes, colors, fonts, legal disclaimers, barcodes, and print methods.
3. How to write a packaging design brief?
Gather input from cross-functional teams, provide clear guidelines and visual references, and allow room for creative problem-solving.
4. What file formats are required for the artwork?
Standard requirements include editable vectors (AI, EPS), print-ready PDFs, and image files at the specified resolution and color profile.