We’ve almost come to the end of the year 2022. And people are still sharing video content feedback over email instead of opting for video annotation. How crazy is that?
Providing feedback on videos through email or chat can be a pain. That’s because it gets hard to trace the exact changes. And more often than not, it is even more difficult for the creative team of videographers and animators to comprehend clients’ requirements. This can either lead to a never-ending exchange of emails or threads or long-hour meetings.
The result?
The entire process gets frustrating. Frequent revisions also confuse and lead to more mistakes. And instead of improvising your workflow, you end up spending more hours on just review.
But no more – video annotation is a lifesaver when it comes to reviewing creative video content. Wondering how to make video annotation simpler for creative video review? This article is for you.
Cut design & video review time in half
Try GoVisually free today!
Table of Contents
What is video annotation?
Video annotation is the tagging and labeling of videos as a part of the feedback and review process. The video annotation process further includes identifying and detecting objects the computer teaches to analyze. When it comes to video annotation, the process is different from an image annotation for obvious reasons.
Image annotation identifies an object on just one frame. However, the computer works with several constantly changing frames in a video annotation.
Video annotation is a groundbreaking tool for training computer vision models. However, it can be time-consuming if you segment the entire video to annotate each frame with the data quality compliances, probable classifiers, and more. You can overcome this challenge by outsourcing video annotation services.
Today, we have various efficient annotation frameworks available, all thanks to the advent of technology. These frameworks are adaptable to the needs of relevant use cases of the deep learning model.
6 insane tips to make video annotation simpler for creative review
The video annotation process can become a bit time-consuming too if you don’t have access to the right video annotation tools or aren’t using the review hacks. But with the following tips, you can simplify video review.
1. Identify your video annotation requirements
Your choice of online proofing software decides the time video annotation will take. But, you must be familiar with your work’s nature and requirements before choosing the appropriate video annotation software. Your focus should be improving communication within the creative teams and simplifying the creative production process.
2. Choose a user-friendly software for video annotation
You can also simplify the video annotation process by choosing a tool that fits the needs you have identified above. Check the rating and the reviews of tools before purchasing or subscribing to an online video annotation service. The perfect video annotation tool will not only be well within your budget but would suffice for the projects you have in mind and will also be user-friendly.
Apart from the cost, feasibility, ease of usage, and availability, you must ensure this tool is compatible with your device. If the tool is too complicated, all the time you save by annotating your videos would be wasted learning new software.
3. Make use of the features to highlight feedback
Collect consolidated feedback to simplify creative video annotations. Collecting feedback from everyone involved in creative video production can be time-consuming. On the contrary, consolidated feedback is easier for the animator or videographer to add to their workflow. This indicates that relying on consolidated feedback will save time and make it easier to improve the video content as per the instructions.
Consolidated feedback is easier for creative individuals to decipher. It reduces marketing myopia and improves suggestion quality. As a result, the feedback is more structured and easy to incorporate into the creative project.
4. Create an organized and accessible thread of suggestions
Let’s admit that those long email threads with fifty different change requests are scary. It is hard to tell which changes you have made and which parts are yet to be edited.
You can avoid trouble by annotating your creative video project with time labels throughout the entirety of the project. Video annotation keeps everyone working on the creative video project on the same page. You can simplify this process by time-labeling the annotations and making them accessible to the team.
5. Create a simple approval process
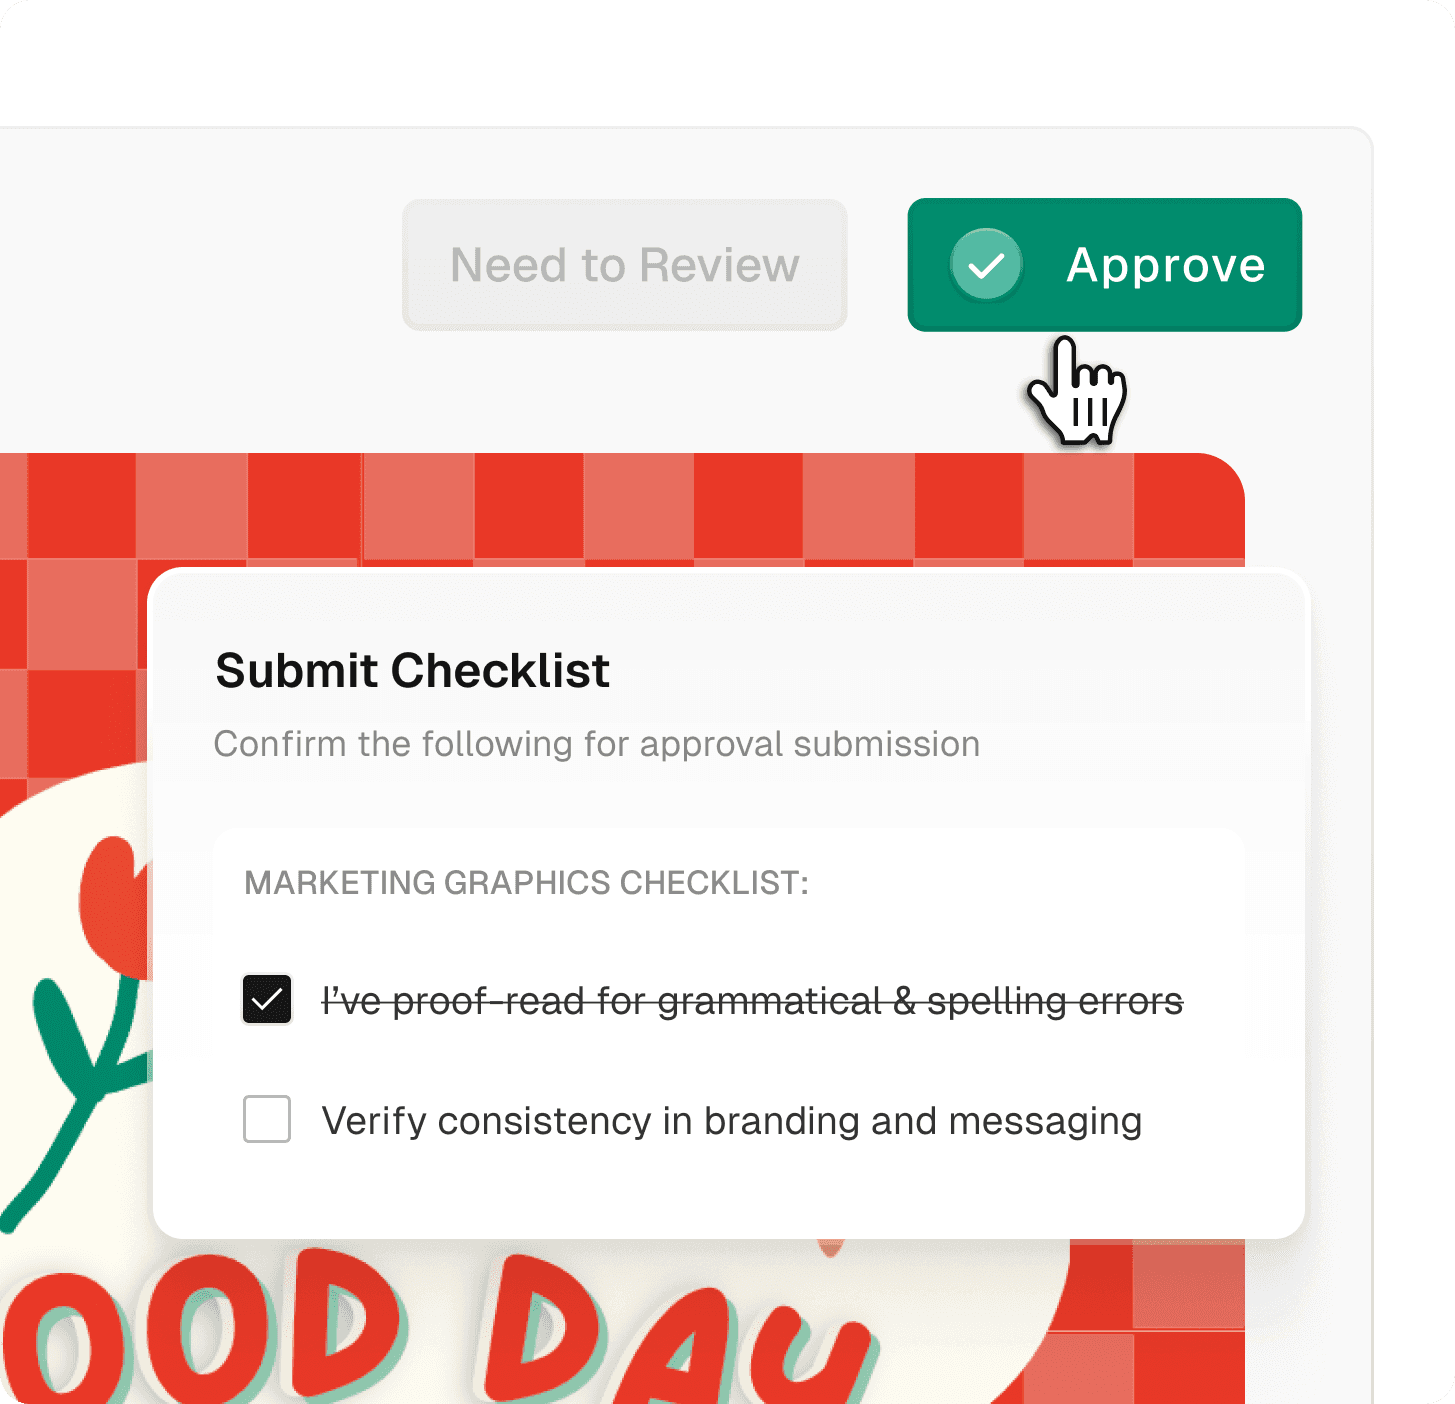
You can simplify the video annotation by creating a concise approval process for each design stage. Sending out approval requests might be time-consuming, but keeping the project on the right track is important.
Timely feedback and approvals ensure the project is delivered on time. However, a concise process of approval is required to make that happen. This process will align your efforts with your creative project’s demands. It also saves you time and trouble going back to designing an entirely new sequence just because you failed to address an issue in the initial design phase.
6. Choose one for all annotation video software.
Choose a one-for-all video annotation software to optimize all-inclusive reviewing. It will simplify the video annotation process for creative video review. You need to engage each team member and, sometimes, even the client associated with the creative video project for feedback.
Select the platform where the designers, the manager, animators, videographers, content strategists, voiceover actors, and stakeholders can add comments, videos, images, text boxes, and pointers anywhere in the video.
Ensure that everyone on the team agrees with the feedback before requesting the changes. Putting an all-in-one system in place will make it easier for the creative team to make changes just once rather than going over the initial design phases after completion. It will make the design process a lot less stressful and simple.
You can keep track of creative direction by creating a team-only comment section. GoVisually video review software offers this feature. It enables you to keep track of the feedback without mixing it with the suggestions made by the client or other external stakeholders.
How to annotate a video in 5 simple steps with GoVisually?
Here’s how you can use the leading video review software, GoVisually, to get video assets reviewed within minutes instead of days!
1. Upload video assets
Once your videos are ready to be reviewed, upload them to GoVisually. You can upload a single video or even upload videos in batches.
During upload, you’ll also have the option to categorize them under different projects that you’re working on.
2. Invite reviewers to give feedback
This is the part where you are ready to share your work with coworkers or corroborators. With GoVisually, you can even invite your external reviewers to leave comments without asking them to create an account.
Once in, they can all leave comments on exact time frames using our various annotation tools. After they click on a specific spot, a pop-up box would appear in front of them in which the annotator can choose to type their comments and add feedback.
3. Review and resolve
After you have the feedback, it’s time to review and resolve the comments.
The users can wait for the video annotators to finish before reviewing or see the video review in real time and view the changes that need to be made. You can also trace the changes using your project dashboard.
4. Finalize the video asset with side by side comparison
And finally, once you’ve made all the changes, you can review the versions side by side to finalize the right one. Viewing changes side by side also helps you and your team spot the exact changes and understand how even a minute of fixes can change the complete outlook.
Once you’re done, simply download the final versions, or you can even integrate your GoVisually dashboard with other project management apps like Asana to send real-time updates.
Key takeaway
Video annotation is important whether you have personal or professional needs at hand. However, the tools and data are worthless if you don’t know how to make the most out of them.
Remember, if you want to triple your productivity, optimizing the video annotation workflow is an important aspect of the creative video review. This also includes quality assurance of the final project.
So make sure you involve the stakeholders within the review team in the creative video review process to ensure a better quality of work. And leverage only the best video review software for a simpler and better review process.
Want to send big files?
Need a quick way to share large files and creative assets?
With GoVisually Share, it’s absolutely free! Try today.