As an architect, collaboration and creativity lie at the heart of all your projects. You have to turn your client’s vision into reality, which comes with a strong architecture design process.
All architecture design projects demand a flow to go along with creativity and structure. That’s because as you pore over the design board, you also require a system to keep you focused.
If you’ve been looking for resources to create a winning process architecture design, your wish has been heard.
We’ve created this guide to enlist all the steps, phases, and tools you’ll need to win a design process that gets your architecture projects rolling.
So, let’s talk about what matters most, ways to streamline your workflow, and the best tools to use for architectural design.
Table of Contents
3 reasons process architecture design is a game changer
You’re already one step closer to dominating the game when you use a clear system to lead you through the design process. The more organized your work, the more efficient your operations will be.
So, let’s look at the purpose of this approach.
1. Helps you create unique designs
You can consciously improve your work performance when you regularly ask for and incorporate client feedback.
Getting feedback from a third party can make all the difference. You’ll get an outside perspective, and people may point out minor details or fixes you would’ve never noticed yourself.
The expert feedback cycle can help you reshape and revamp your designs to meet your desired quality standards.
It’s this process of fine-tuning that makes you the best architect you can be.
2. Prioritizes customer satisfaction
The most crucial aspect of working with clients is listening to them and satisfying their needs. In some cases, it is even more important than the design since it lays down the basis upon which the design is formed.
Think about it from the perspective of a client.
If you were commissioning an architect to design a building or house for you, you’d want everything to be flawless because it would be your property. So, clients usually look for architects who clearly understand what they’re trying to accomplish and almost perfectly turn their ideas into 2D or 3D models.
If your client feels involved and satisfied throughout the process, they’ll respect you immensely, building your reputation.
Even as an architectural firm, your focus should be visibly directed toward your clientele.
3. Establishes clear and consistent communication
Whether you’re working as a team or sole designer, the ability to hold professional conversations with charisma will put you at the top. It’ll benefit the architecture and the client because it would mean everyone is thoroughly aware of what’s happening.
As a result, you can work according to your client’s requirements and ensure smoother efficiency.
6 phases of the architectural design process
Now that we’ve discussed how an architectural design process can change the game let’s discuss its phases.
1. Pre-design phase: Programming
The first step is meeting with the client to discuss their vision for the project and other requirements.
Discussion points can include:
- The plot of the land,
- Any existing structures,
- The scope of the project,
- The design’s core features,
- Other relevant wishes the client may have for the future building.
Visiting the site in person to get a closer look can help you get the most accurate information.
After you’ve created a coherent plan with the client, the next step is research. That may include data related to local zoning or land-use restrictions, any cost estimates or budgets to follow, etc.
After that, you can draw an official contract with all stakeholders and clarify the time duration and charges.
2. Schematic Design (SD)
In this step, the architect turns the vision into a building design concept involving:
- Drawings,
- Sketches,
- 3D models,
- Floor plans,
- Preliminary site plans,
- Building elevations,
- Building systems like HVAC and plumbing should also be part of your schematic designs.
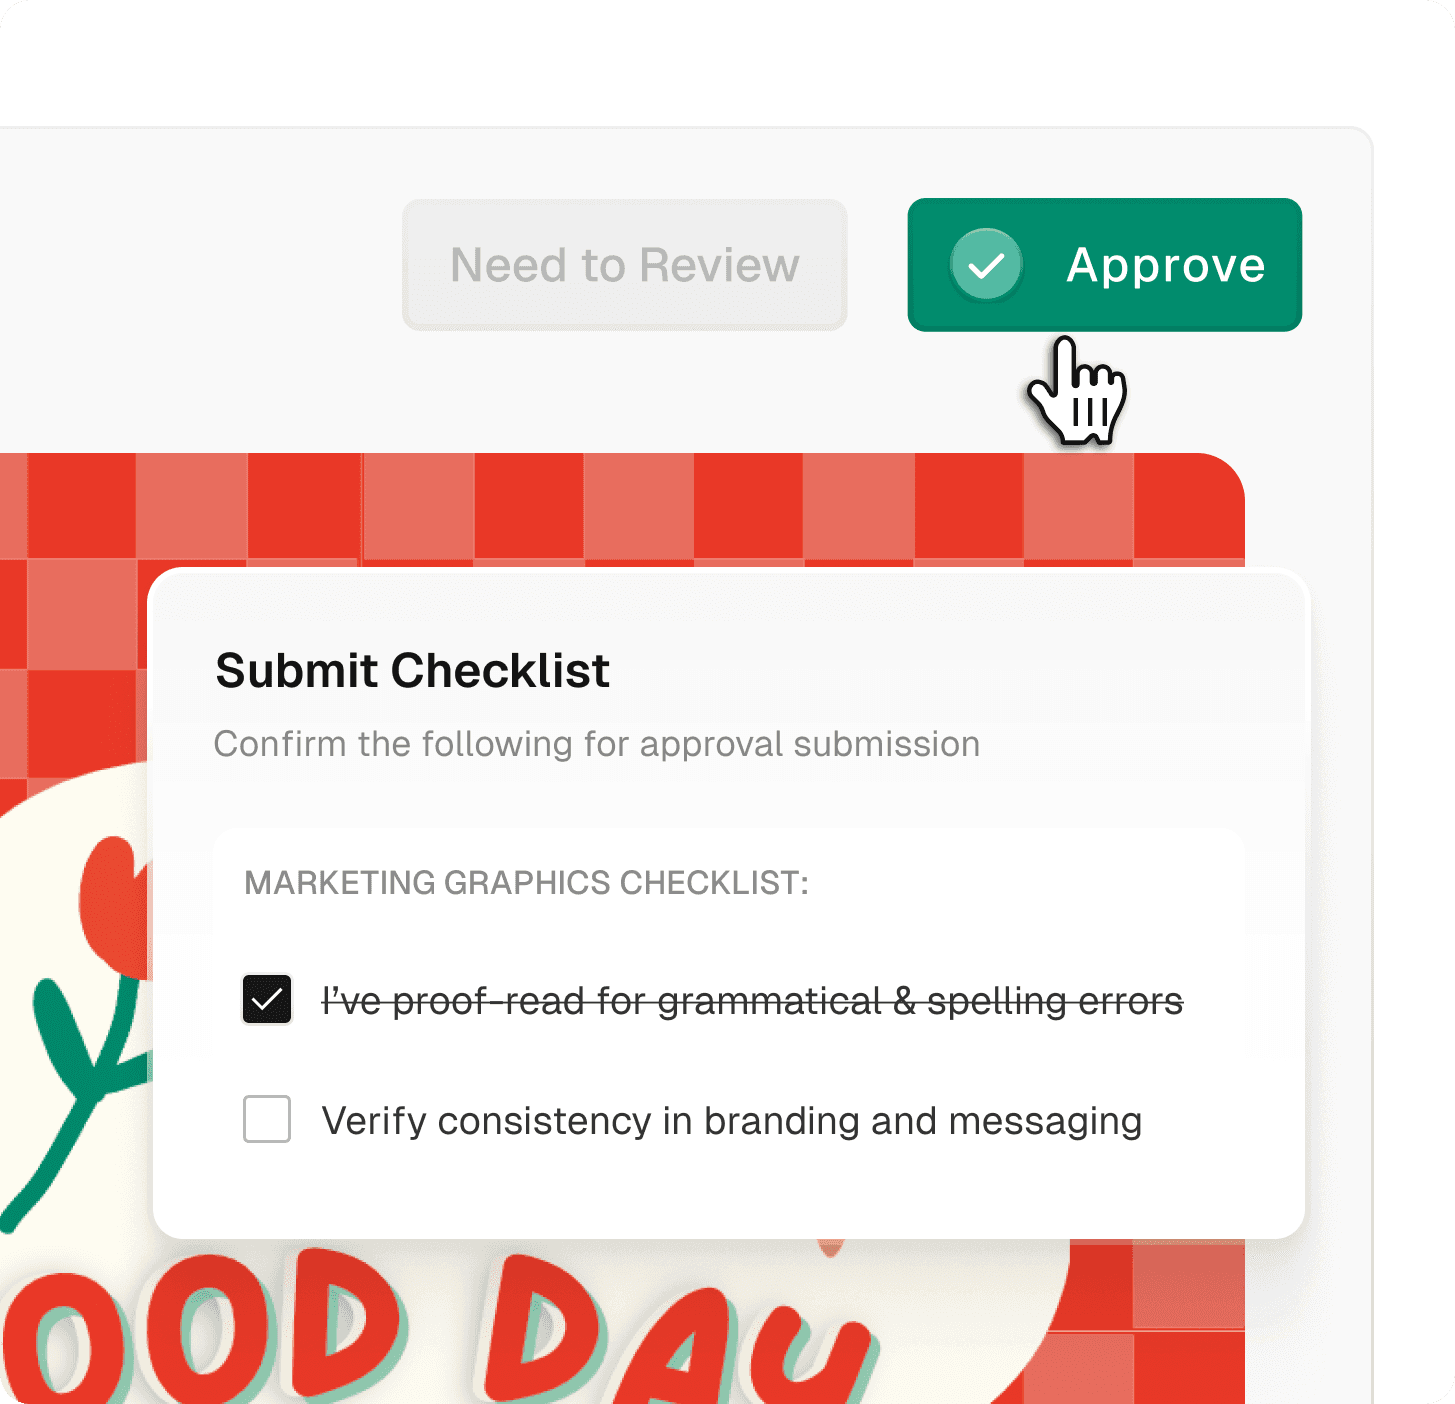
Once you’ve shared the designs, start the review and approval process immediately. And you can do that by sharing designs for review and approval on GoVisually.
3. Design development (DD)
This is the phase where your designs should manifest into detailed plans.
For instance, if the project requires a structural engineer to help with the technical aspects, it is time to include them. You may also provide the client with exterior and interior finishes that should go on top of the foundational structure.
This phase involves turning visualizations into tangible realities using paper sketches or 3D models.
At this stage, it’s also likely that a realistic cost estimate will reveal itself, and all stakeholders will start getting a better idea of the resources that’ll be needed.
4. Construction drawings (CD)
Next, you should take your final designs and create good construction drawings. These sketches are highly technical, as the constructors and on-site builders will use them. You’ll also submit these when you apply for a permit.
Using these drawings, you can communicate your proposed plans to all stakeholders. They should contain all essential data, including set parameters for the building, structural details, and interior components.
And at the risk of sounding repetitive, you must seek outsider advice, skills, and expertise throughout this phase. It will help if you actively communicate with the client regarding interior design matters. And as such, you should continue to alter elements and make updates to improve the final product.
5. The building permit phase
At this stage, it’s time to apply for the permit based on your drawings.
In most cases, your city or county will review your submission for structural integrity and check that there’s adherence to building codes and zoning laws. You may have to exercise patience here because getting a permit can often take a long time. But it’s important because it protects architects, property owners, and builders from construction errors.
Plain construction projects that meet all local requirements get approved in a matter of days, but if your plans are more ambitious than that, then it can take up to several months.
6. Construction administration (CA)
The final stage of the design process is when your plans begin to materialize in physical form. Your final blueprints should be set and ready for use by constructors. However, your job isn’t done yet! You must now monitor the building’s construction, ensuring that all necessary steps are being taken.
Periodically visiting the site is a good idea to see that your work follows the construction documents’ data. And, of course, you should also keep an eye on policies and ensure that the construction contract is followed to a tee to protect yourself from any serious problems.
Add the finishing touches to any design project.
Integrating the six phases mentioned above into the process architecture design can create an efficient schedule.
But we’re not done yet!
You must keep the following two final steps to add the finishing touches.
1. Establish a clear review and approval process
We know how vital client feedback and communication are, so you must ensure that you have devised a system to keep these things in order.
Moreover, establishing a clear review and approval process will save you time. And you can use some industry-leading tools like GoVisually to help you do that.
I’ve listed more recommendations for you in the next section so do review that!
2. Evaluate each finished process
Evaluation is critical in upgrading your work.
A great finishing touch to add to your work is taking the time and humility to step back and evaluate areas for potential improvement. As you do this, your work will embody higher accuracy. And attention to detail is how you win your client’s approval.
6 brilliant tools to use for the architecture design process
We’ve compiled a list of the best architecture design software to help you deal with everything.
1. GoVisually
GoVisually is the fastest and #1 review and approval solution for architecture designs. It is reliable, fast, and modern.
GoVisually provides users with one centralized platform to share designs, drawings, and construction documents with clients and partners. Your clients can leave clear feedback, making it easier for architects to understand their wishes and adapt accordingly.
2. SketchUp
SketchUp is a powerful 3D modeling application that makes design development seamless, intuitive, and highly organized. It allows users to create intricate, detailed building designs in 3D and add 2D details to their drawings and specifications, such as text descriptions.
Their 3D modeling website is one of the most intuitive, robust, and industry-leading. It specifically assists professional creatives from various backgrounds and digital skill levels. SketchUp can also make the entire collaborative work process faster.
3. 3DS max
3D Studio existed before Windows 3. x and was one of the first tools to offer a hardware-accelerated rendering of 3D images. Its value is creating visuals and fly-through animations to promote a project rather than designing it from the floor up.
Along with the vanilla 3DS Max, you can choose three unique flavors designed for Media work & Entertainment, Production design & manufacturing, and an Architecture, Engineering, and Construction collection.
Things have changed since those primordial days of computer graphics and 3D Studio (running under DOS). For example, 3DRhino is a software steadily becoming more popular due to its parametric plugins and brilliant modeling features. However, it’s 3D Studio Max, the most popular software in the 3D market.
4. Revit
You may know that AutoCAD has long been a staple of construction engineers and architects, but now Revit has replaced AutoCad in the market.
Revit is a multiple-use software for 2D and 3D design projects and includes features that provide total project output, such as modeling, rendering, and even 2D construction documents.
Interesting that instead of circles or lines, you can use roofs, beams, walls, columns, and other building components to illustrate your designs. You can add other real-world characteristics of the physical building, such as windows and doors.
One of its best features is that every change you make to the model is updated in all views, including plans and elevations. It reduces coordination and drawing time significantly.
5. Cedreo
Cedreo is an intelligent, user-friendly floor plan software. It makes architectural designers’ lives just that much easier, allowing them to craft professional and visually appealing designs in nature.
Cedreo enables you to see your vision in tangible form early in the process. Its instant 3D visualization tool consists of many features, including photorealistic 3D renderings, wall openings, roofing, an extensive library of templates, pre-existing downloadable floor plans, and even home decoration additions to the drawing.
6. Chief Architect
Chief architect is a professional home design software for interior designers, architects, and home builders.
The design software turns the initial ideas of architects into reality. It lets users create intricate and hyper-realistic three-dimensional drawings of buildings and homes. The tool also gives your work a sleek and professional finishing touch.
Key takeaway
Architectural design involves patience, creativity, and innovation, but discipline and organization can kick it to the next level!
With our guide, you have all the tools and information you need in one place, and it can be helpful to remember these throughout the process. So do share it in your circle with your fellow architects, and let us know your thoughts!