10 stages to optimize the graphic design process for creative teams
If you manage creative projects, you might be wondering how you can optimize your design process. Worry not, as this article will provide ten simple stages to optimize your graphic design project.
A strong graphic design process is crucial for creating high-quality designs. A well-crafted design process will help you stay organized and focus on the most important thing - graphic design.
In this article, we will discuss what exactly is graphic designing, the design process in graphic design, and the steps in the graphic design process. In the end, you will be able to optimize your graphic design process to its full potential!
Let’s begin!
What exactly is graphic designing?
Before we jump into graphic design optimizations, let’s learn more about graphic design. If you are new to graphic design, you might be wondering what exactly is graphic designing?
In the simplest terms, graphic designing is the art and practice of creating ideas and experiences with visual and textual aid. Graphic designing lets you solve problems and communicated ideas with images or graphics.
There are several types of graphic design. These include:
- Visual identity graphic design - This type of graphic design conveys brand identity.
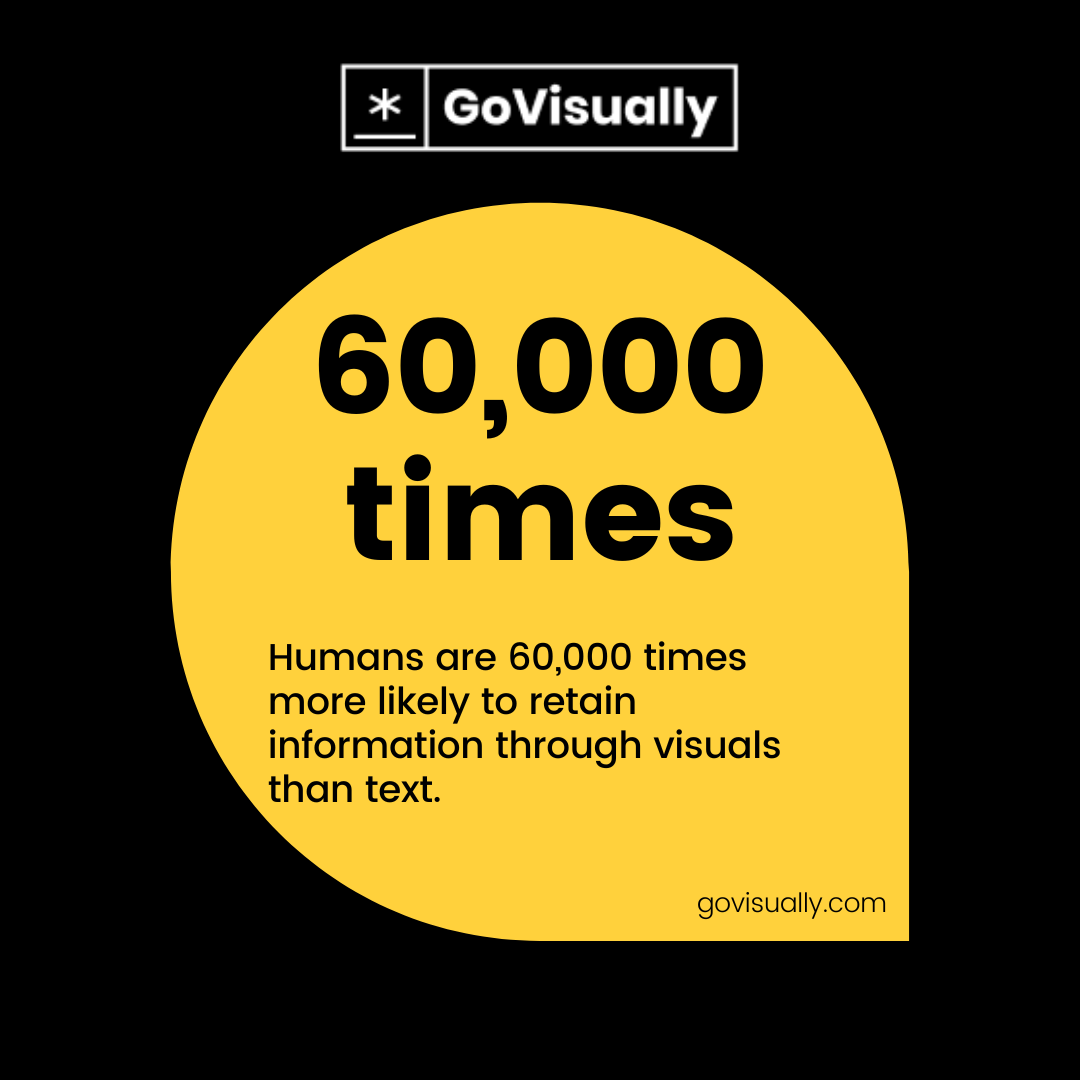
- Advertising graphic design - Visual information sticks in your head, and that’s why many marketing companies use graphic design for advertising products. These include infographics, flyers, posters, etc.
- Packaging graphic design - Since graphic design is visual communication, packaging design is important as it speaks to the consumer.
These are just a few examples of graphic design, but the application of this medium is endless.
What is the design process in graphic design?
Now that you have a better understanding of graphic design let’s answer the question - what is the design process in graphic design?
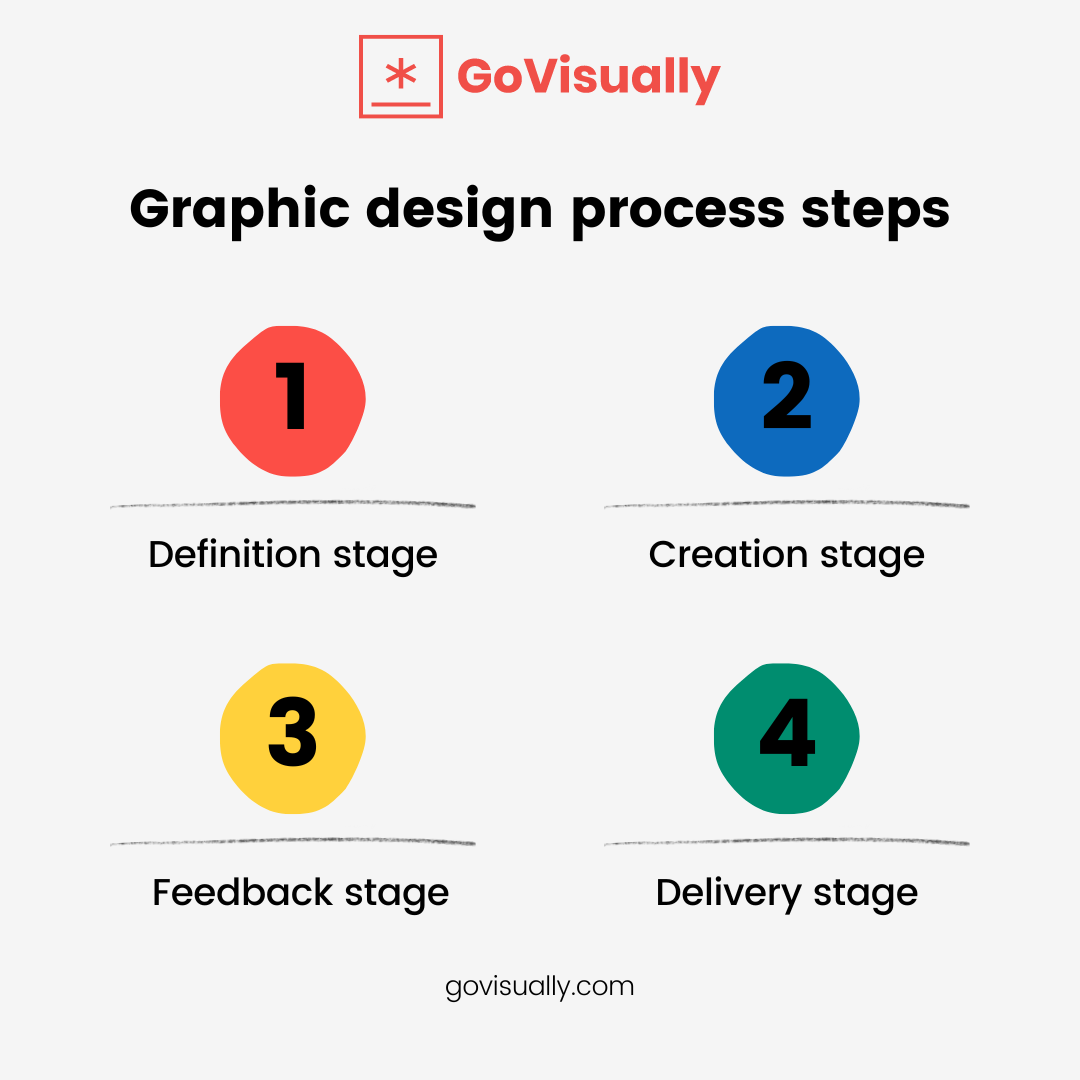
The graphic design process refers to the different phases of a visual design project. The graphic design process is divided into four sub-categories. These are:
- Definition
- Creation
- Feedback
- Delivery
There are additional ten steps in the graphic design process in these sub-categories. Breaking down your graphic design process makes it easier to stay organized and meet your deadline.
Here is a general outline you can use to create your graphic design process steps.
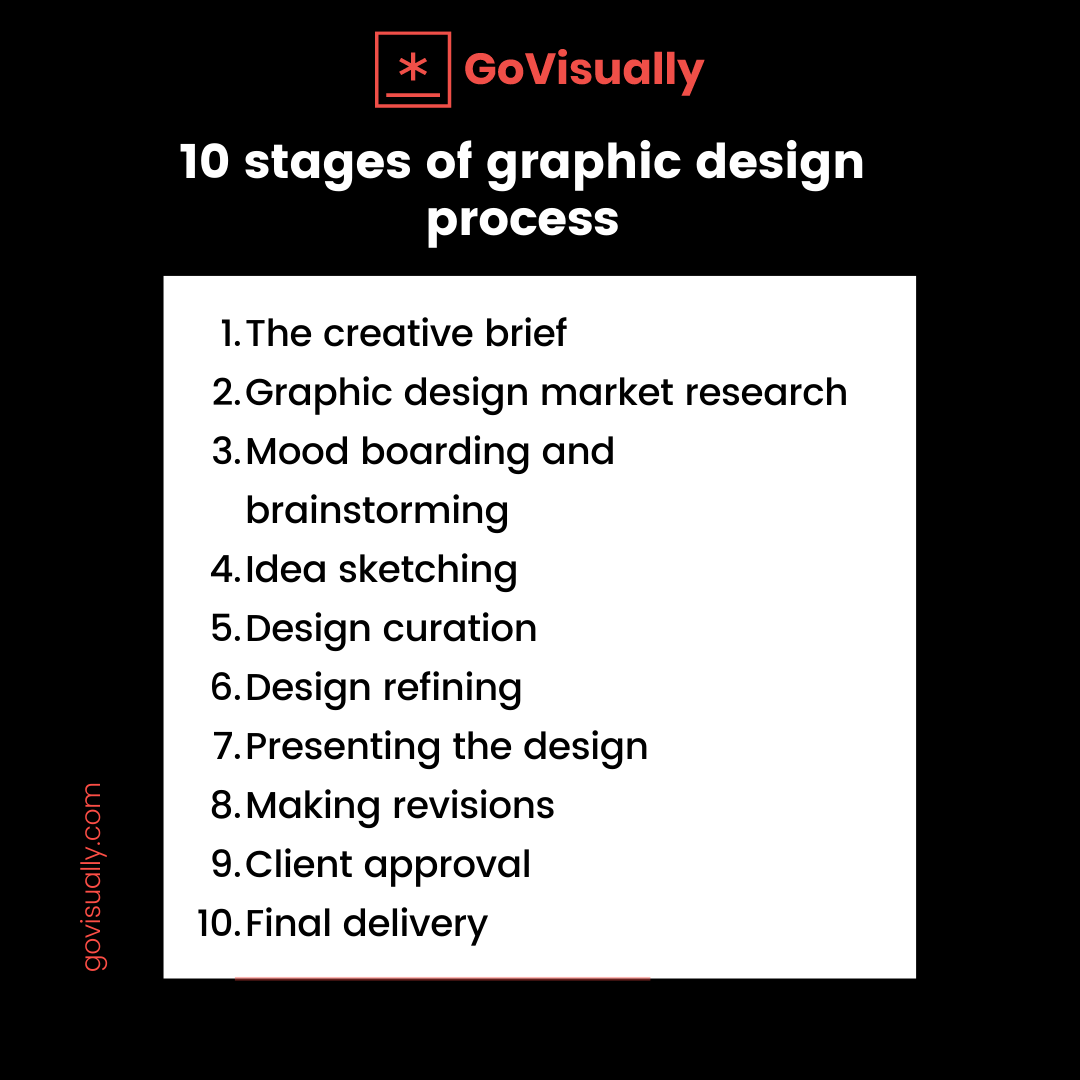
Definition Stage
- Step 1: The creative brief
- Step 2: Graphic design market research
- Step 3: Mood boarding/brainstorming
Creation Stage
- Step 4: Idea sketching
- Step 5: design creation
- Step 6: Design refining
Feedback Stage
- Step 7: Present design
- Step 8: Make revisions
Delivery Stage
- Step 9: Client approval
- Step 10: Final delivery
The graphic design process steps
With your strategy in hand, let’s break down the ten steps in the graphic design process to optimize your workflow.
Step 1 - The creative brief
The very first step in the creative design process is your creative brief. This is one of the most important graphic design process steps, and it's important to gather as much information as possible.
Your brief should include details about the business, your target audience, the specification, and other relevant information.
Most graphic design firms tend to do a creative brief over the phone or via email. This approach is ineffective as important data might get lost.
The best way to create a good brief is to meet in person with your client or work with an online collaboration tool. You can sit down and discuss any questions or concerns in real-time when you meet in person. This allows you to get a better understanding of the client's needs.
You can also use a form tool to work alongside your clients to build a brief. Tools such as Google forms will make it easier for you and your clients to answer any design-related questions.
Step 2: Graphic design market research
Now that you have all the necessary information, it's time to conduct your market research. Like the first step, this stage does not involve any design, but it's still an important part of your design process. You need to gain as much information as possible through your research.
Your creative brief contains valuable information that can help with market research. However, do not include any competitor designs in your brief.
You can also research the target audience for your design. Look at the current trends and what your target audience is enjoying. Also, look at what your target audience doesn’t respond well to.
Check market trends and see what's performing well. What type of designs are audiences gravitating towards, and which style or color is more effective. These points will help you with your market research.
If you are looking at your competitor’s design for research, you only take inspiration from the design and do not copy it.
You can analyze what parts of the design work and which don’t. See if you can make any improvements to their design. Your goal should be to create something different that follows common styles and tones.
Optimize your market research
You might have done a simple Google search for market research for your previous designs. While this is a great starting point, there are specific ways to get valuable information. Use many alternative resources to gain enough data for your design process.
Before conducting research, create a list of competitors. Google the names and find out information. You can use Google’s advanced search options. Here you can add relevant keywords to get valuable data.
You can also use Google Maps to identify your competitor's location. This will help you develop any geographical advantages over your rival design firms. To gauge customers’ reactions to other design firms, check websites like Yelp or Check a Trade.
You can also look for similar websites to see how they are performing. If your client works in software or app development, look at any competitors in that market.
Once you have all the necessary information on rival design firms, you can evaluate and analyze their content. To do this, you can:
- Go through their website and blog
- Analyze their design by looking at their logo, website theme, color scheme, etc.
- Look at their press mentions and interviews
- Go through their social media and see how they market their design there
- Sign up for their newsletter or email alerts.
This process will help you understand what works in the design market and what doesn’t.
Step 3 - Mood boarding and brainstorming
Once you’ve collected all the valuable data, you can start developing ideas and visual aspects of your project. A simple pen and paper will work just fine for this process.
When mood boarding, think of the thoughts and emotions your design will trigger. Emotions and visuals go hand in hand, and creating a mood is a step in the right direction. There are several ways to trigger an emotion with design, from the color to the typography.
You can create a mood board to represent your ideas with all your gathered information. This visual representation of your thoughts is a great motivator for your design process. You can keep updating your mood board with any other relevant information.
Optimize the brainstorming process
Using your information is a great way to brainstorm, but you can also benefit from considering different perspectives in your mood board. You can reach out to other design enthusiasts or go through design forums to learn more ideas.
Here are some steps to take if you want another perspective:
- Join Facebook groups such as Advanced Graphic Design to learn and discuss with design experts.
- Check out Q&A portals like Quora.
- Join design communities on Slack
These steps will help you evaluate your existing design, and you can also ask questions or ask for improvement suggestions. Any feedback you receive will optimize your design process.
Step 4 - Idea sketching
Now you are in the creation stage of your graphic design process. Gather all your data from market research and your brainstorming session to begin sketching out your ideas. This is one of the most important steps in the design process as it leads you to design creation.
Since we are in a digital age, you might be tempted to use online tools for sketching. Even if your design is digital-based, you must draw your designs offline. This will prevent distractions such as social media notifications from delivering your design on time.
Once you’ve removed all digital distractions, use a large sketchpad and your favorite pens to start sketching your ideas. Through this method, you will optimize your focus and productivity.
You can also present your initial sketches to your client for early feedback. Use annotation tools to get quick feedback to make improvements early in the design process.
Step 5 - Design creation
With your early feedback from the client, you can start creating the final design. At this stage, you can also come up with variations of your design to give clients a variety to choose from.
While you can create each aspect of your design yourself, several online premium design tools can help your design process. One of the biggest advantages of these sites is that you get high-quality design elements for free.
Check out websites such as freepik and dribble to get high-quality graphics elements to help your design process. You can also use software tools such as Adobe creative cloud programs, Photoshop, and Illustrator to create your designs from scratch.
You can create your design digitally or use analog methods like paint and sketchbooks to create your design. See what works best for you before you begin the process.
Step 6 - Design refining
Once you’ve created your design, it's time to refine your project. Instead of asking clients for feedback at this stage, you can ask your friends or family members for refinement comments.
You can also present your designs to other graphic designs to get optimal comments. Different designs will be able to give accurate feedback for improvements. Behance is a great way to present your project to other design professionals and gain feedback.
Once you have this feedback, you can refine your graphic design.
Step 7 - Present design
This step is the first part of the crucial feedback stage. How you present your work will affect your feedback and the necessary revision you need to make. Your design should tell a story to convince your client and get their approval.
Presenting your work through email is ineffective at convincing your client. It does not show the time and effort your put into your design. Instead, you should take time to present your work properly.
Schedule a meeting with your clients for design milestones and major changes. You can do this through online chat tools like Google Meet to effectively manage your client's time.
In your presentation, include the story of your design and how you went through the design process. This will help your client understand your perspective and work.
Step 8 - Make revisions.
The revision process can be difficult because you might receive a lot of feedback, which is unstructured. This is why when you get your feedback, first structure and then start making revisions.
While emails are a quick and easy way to get feedback, it’s to lose valuable information. Online proofing can help you structure your feedback and speed up the revision process. With this tool, you can upload your project and have clients provide real-time feedback on specific parts of your design.
Step 9 - Client approval
Once you’ve gone through several revision cycles, it's time to present the final iteration of your design. Once the client is happy with your work, you don’t need to make more changes or tweaks to the design.
This is a nerve-wracking stage of your graphic design process but don’t fret, as this brings you closer to the end of the design process.
Step 10 - Final delivery
You did it!
Your client is happy, and you have finalized your design. Neatly package everything up and ready it for final delivery. You should also send an invoice alongside your project.
Create a clear invoice to make sure you receive your payment properly. Use an online invoice tool to simplify your transactions and manage your income. Online invoice tools easily connect to your bank account for quicker payment.
Final Takeaway
The graphic design process is complex, but with our steps in graphic design process, you can optimize your workflow.
Even though every design process is different, you can still use any of these steps for your process. These ten steps will make it easy to work with your clients and be more productive.
[elementor-template id="9369"]